
笔者以自己的开源项目:https://github.com/woodwhales/woodwhales-common 为例,演示如何将自己的开源 jar 发布至 maven 中央仓库,即可在 https://mvnrepository.com/ 官网中搜索到。
注册 sonatype 的 Jira 帐号
SonaType是什么呢?提供开源项目仓库托管( Open Source Software Repository Hosting,简称 OSSRH )服务。
注意:记录用户名和账号密码,后续发布 jar 文件时会使用到。
注册地址: https://issues.sonatype.org/secure/Signup!default.jspa
注册很简单,重要的是邮箱地址一定要正确,issue 有任何变动都会通过邮件通知。
sonatype 网站设置中文语言
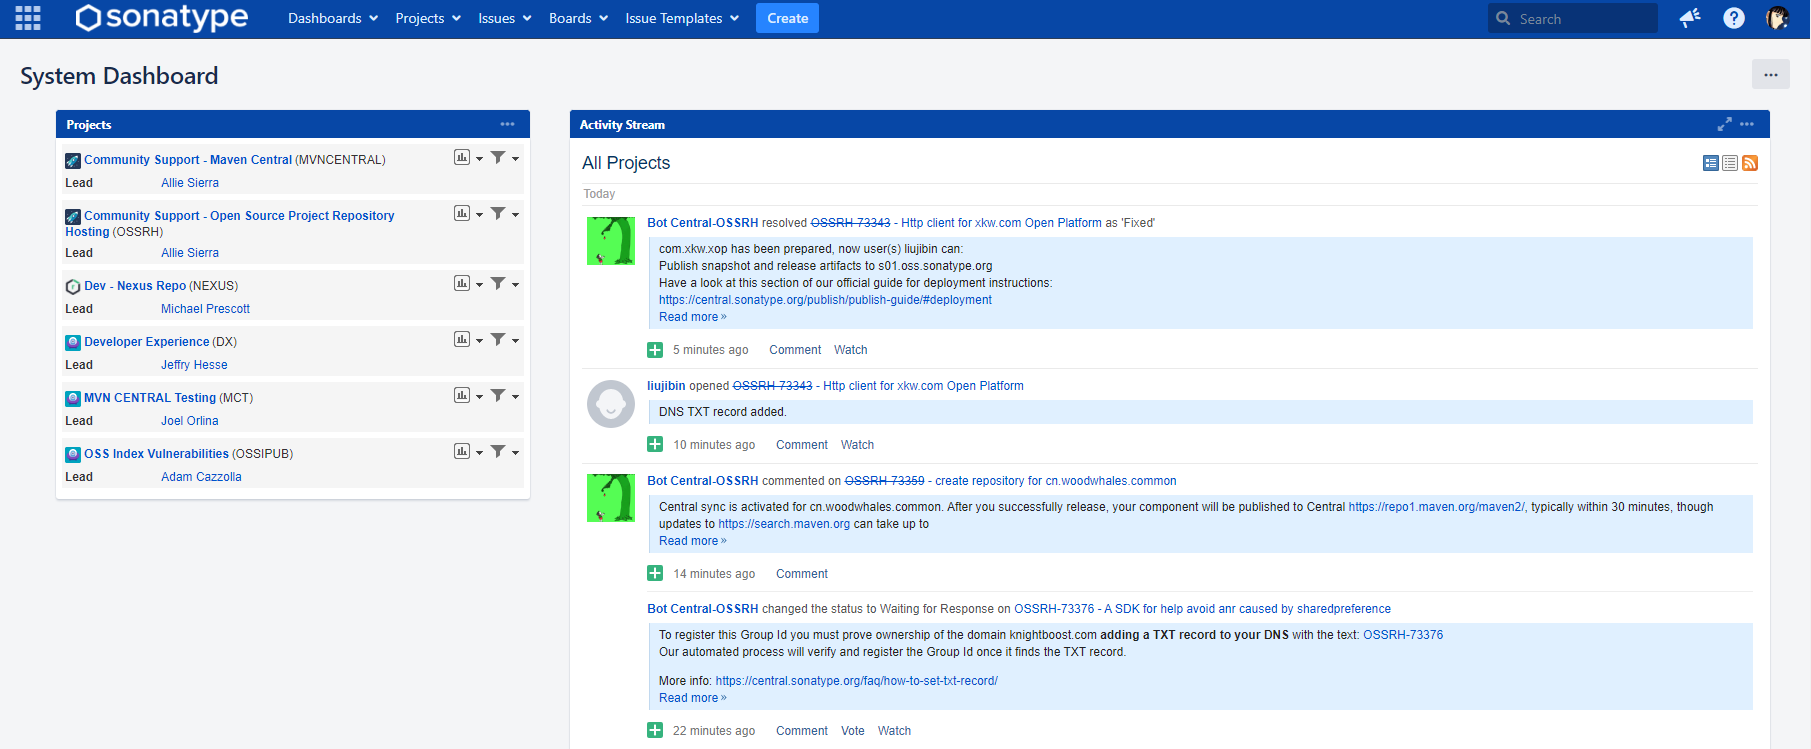
sonatype 的 Jira 帐号注册成功之后,登录进入首页界面如下:
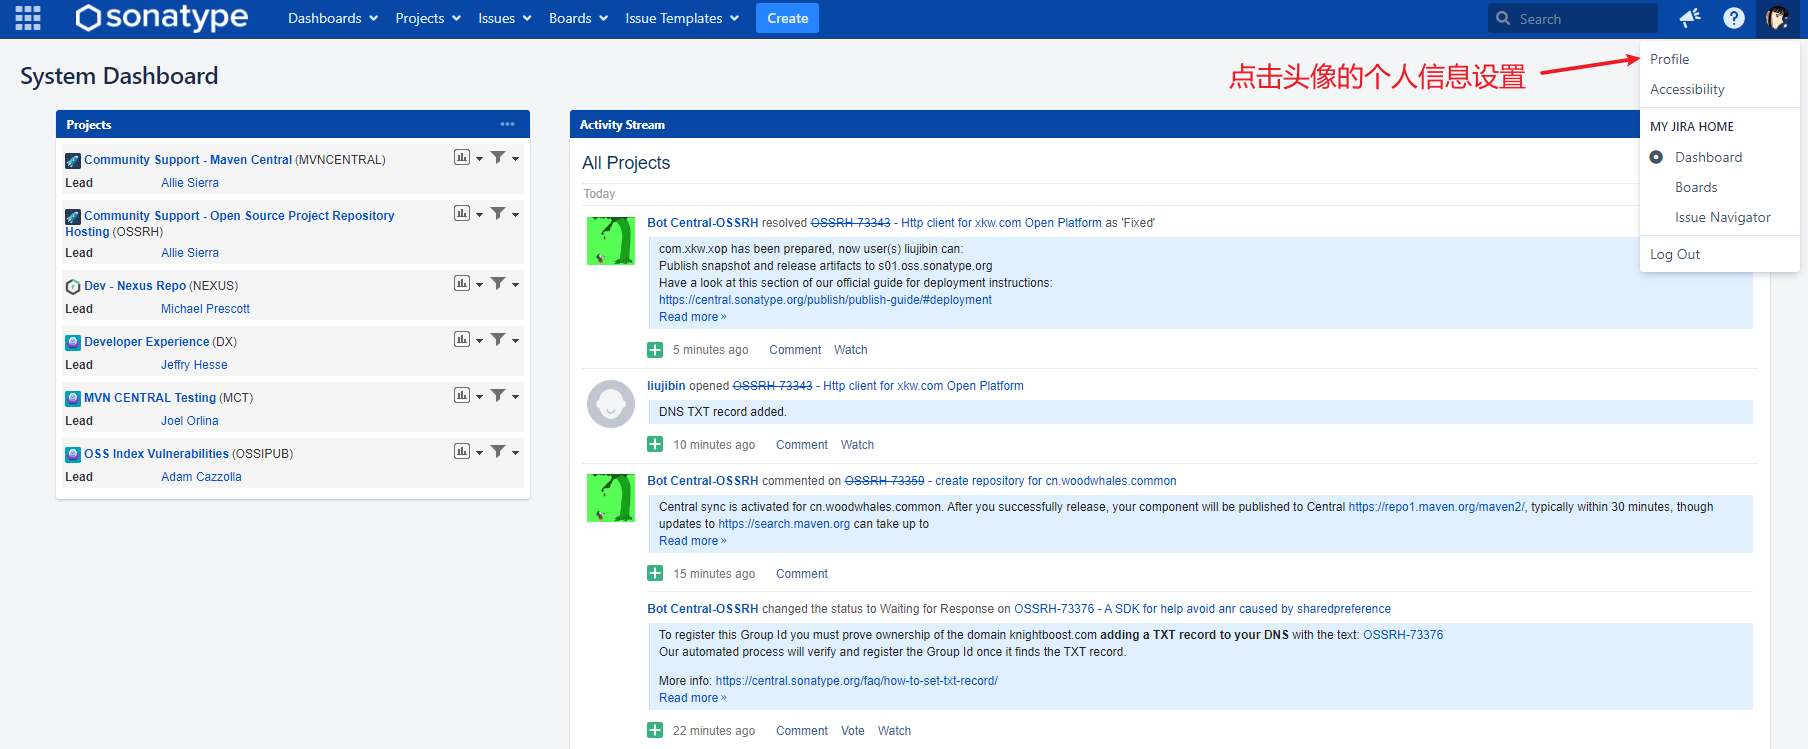
点击头像的个人信息设置:
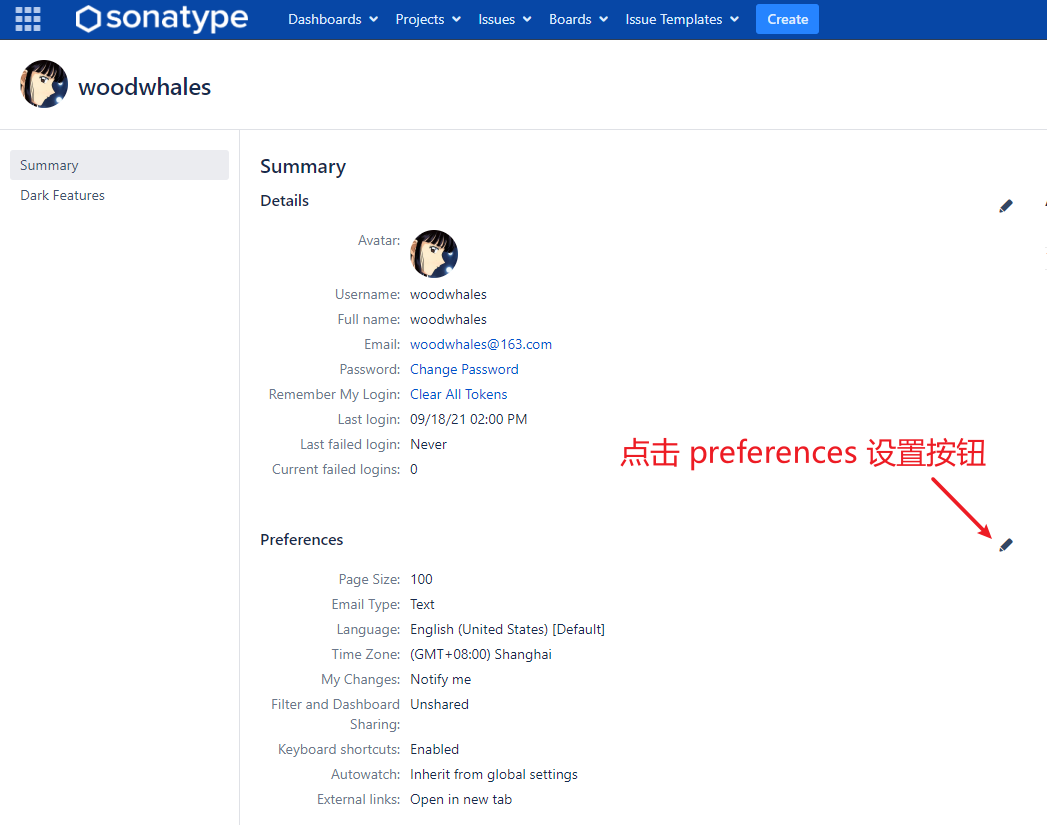
点击 preferences 设置按钮:
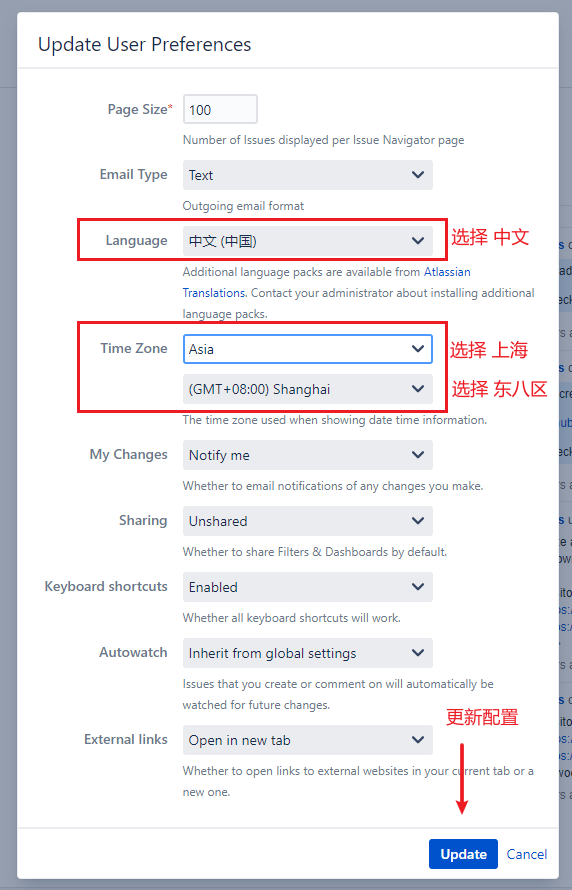
设置语言及时区:
申请创建个人仓库工单
点击页面顶部的创建按钮,创建工单:
项目选择:Community Support - Open Source Project Repository Hosting (OSSRH)
问题类型选择:New Project
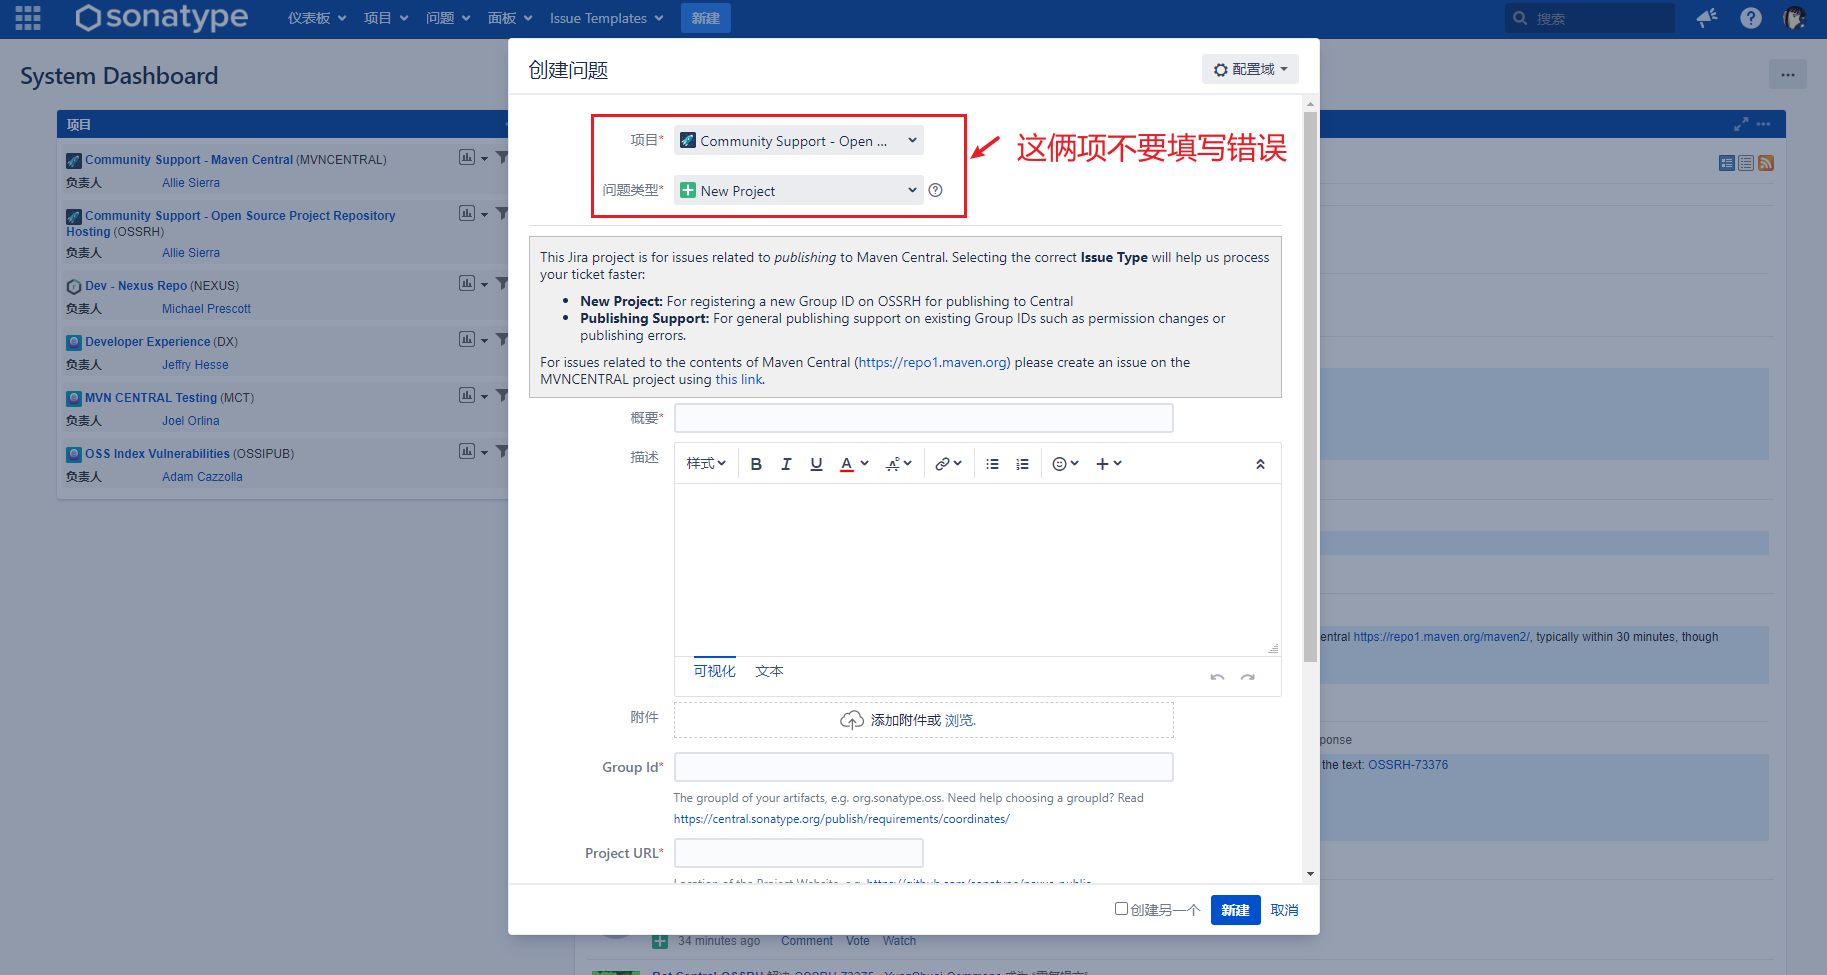
填写表单信息:
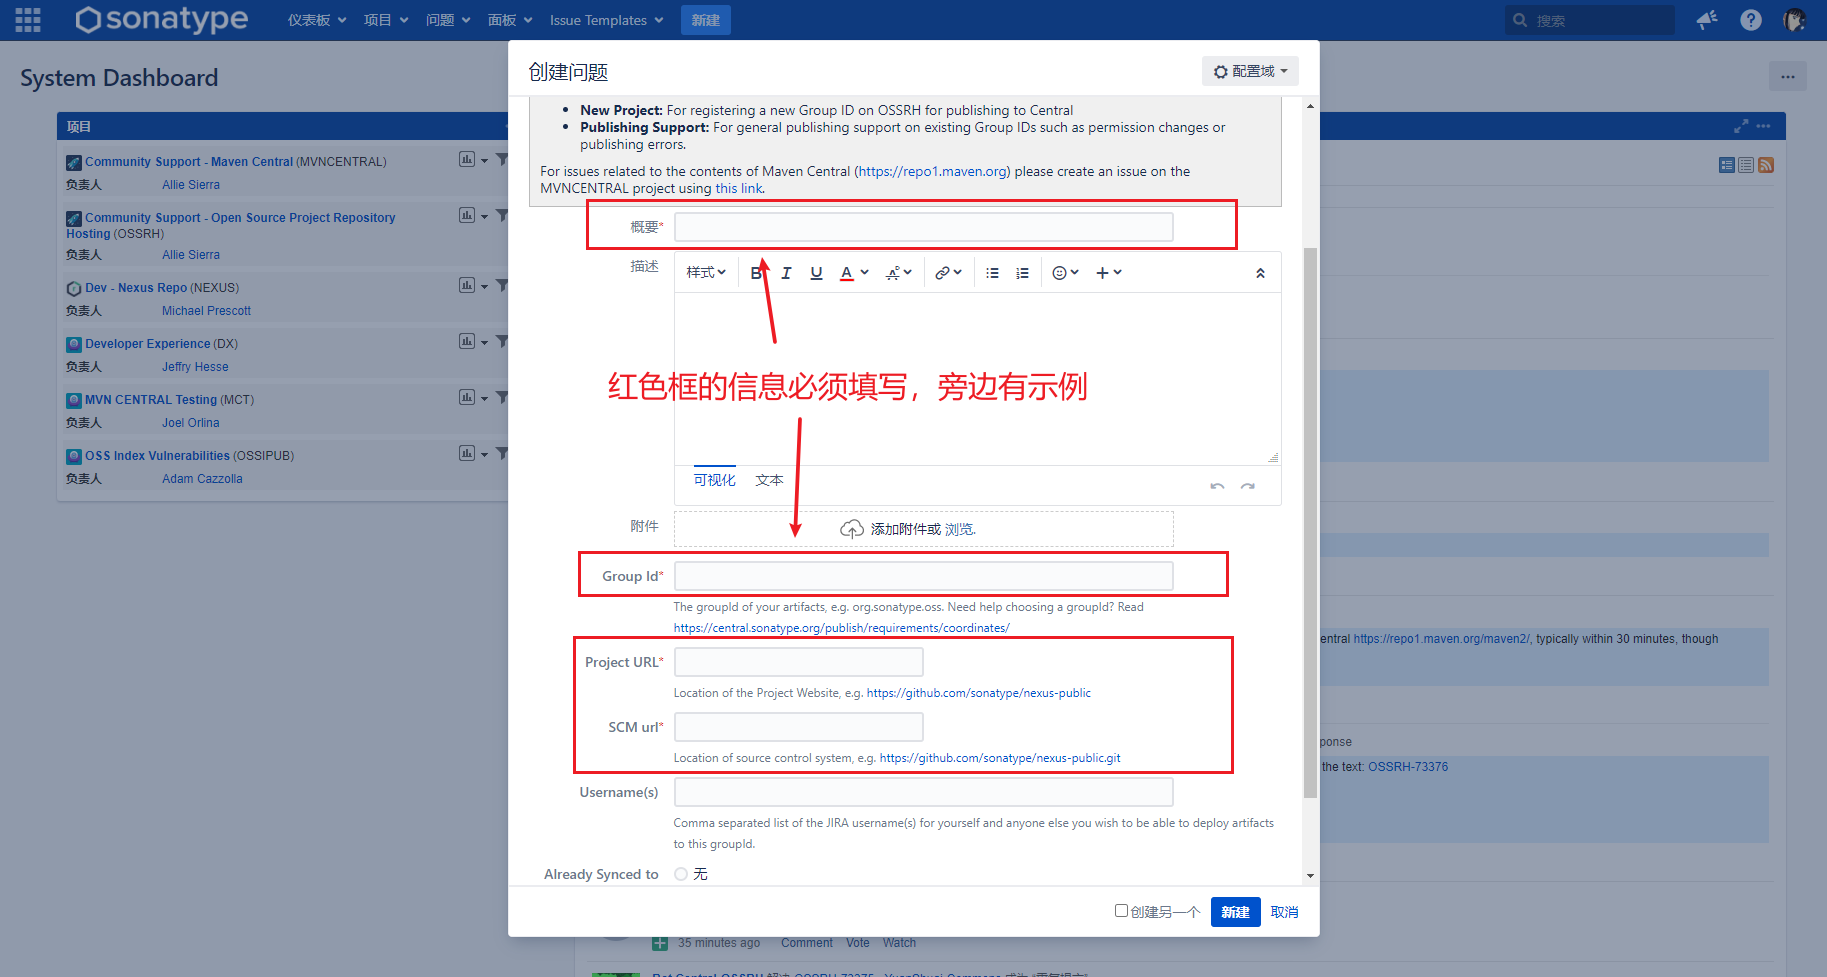
表单中有如下信息需要填写:
Summary:描述自己包的作用Description:可写可不写,也是具体描述的Group Id:笔者有自己的域名,所以填写的是 cn.woodwhales.common,如果没有自己的域名,可以填写:github.xxx.yyy 或者 gitee.xxx.yyy。Project URL:填写你的项目的 github 或者 gitee 地址SCM url:填写你项目的 github 或者 gitee 的克隆地址
读者可以参考笔者的工单进行填写:https://issues.sonatype.org/browse/OSSRH-73359
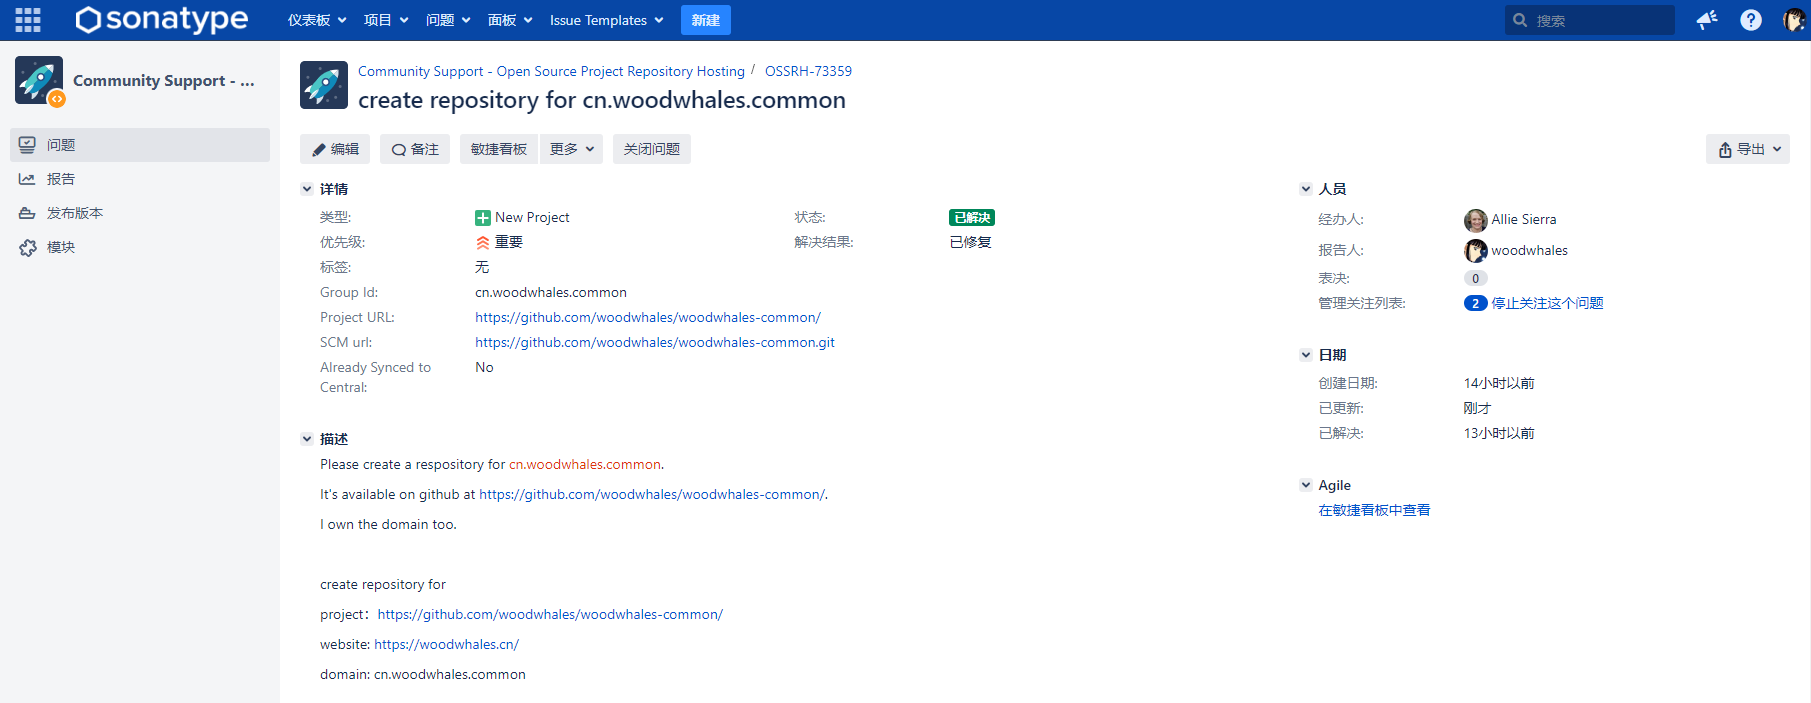
工单提交之后需要等待管理员审核。审核完成,管理员会在下面提示你让你验证这个域名是你的或者证明域名或者 gitee 或者 github 空间是你的。笔者的要求域名解析配置,并且在 github 仓库中临时创建一个的名称为:OSSRH-73359的公开仓库:
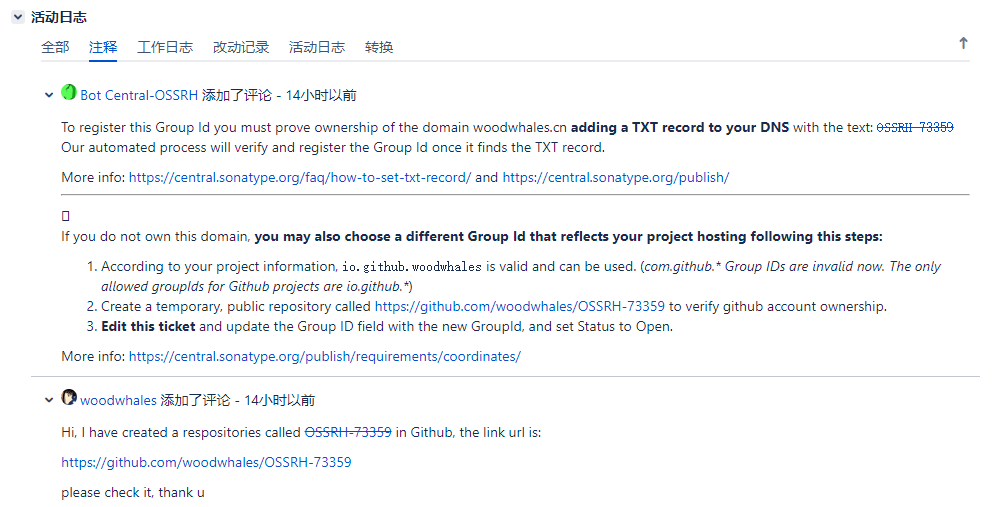
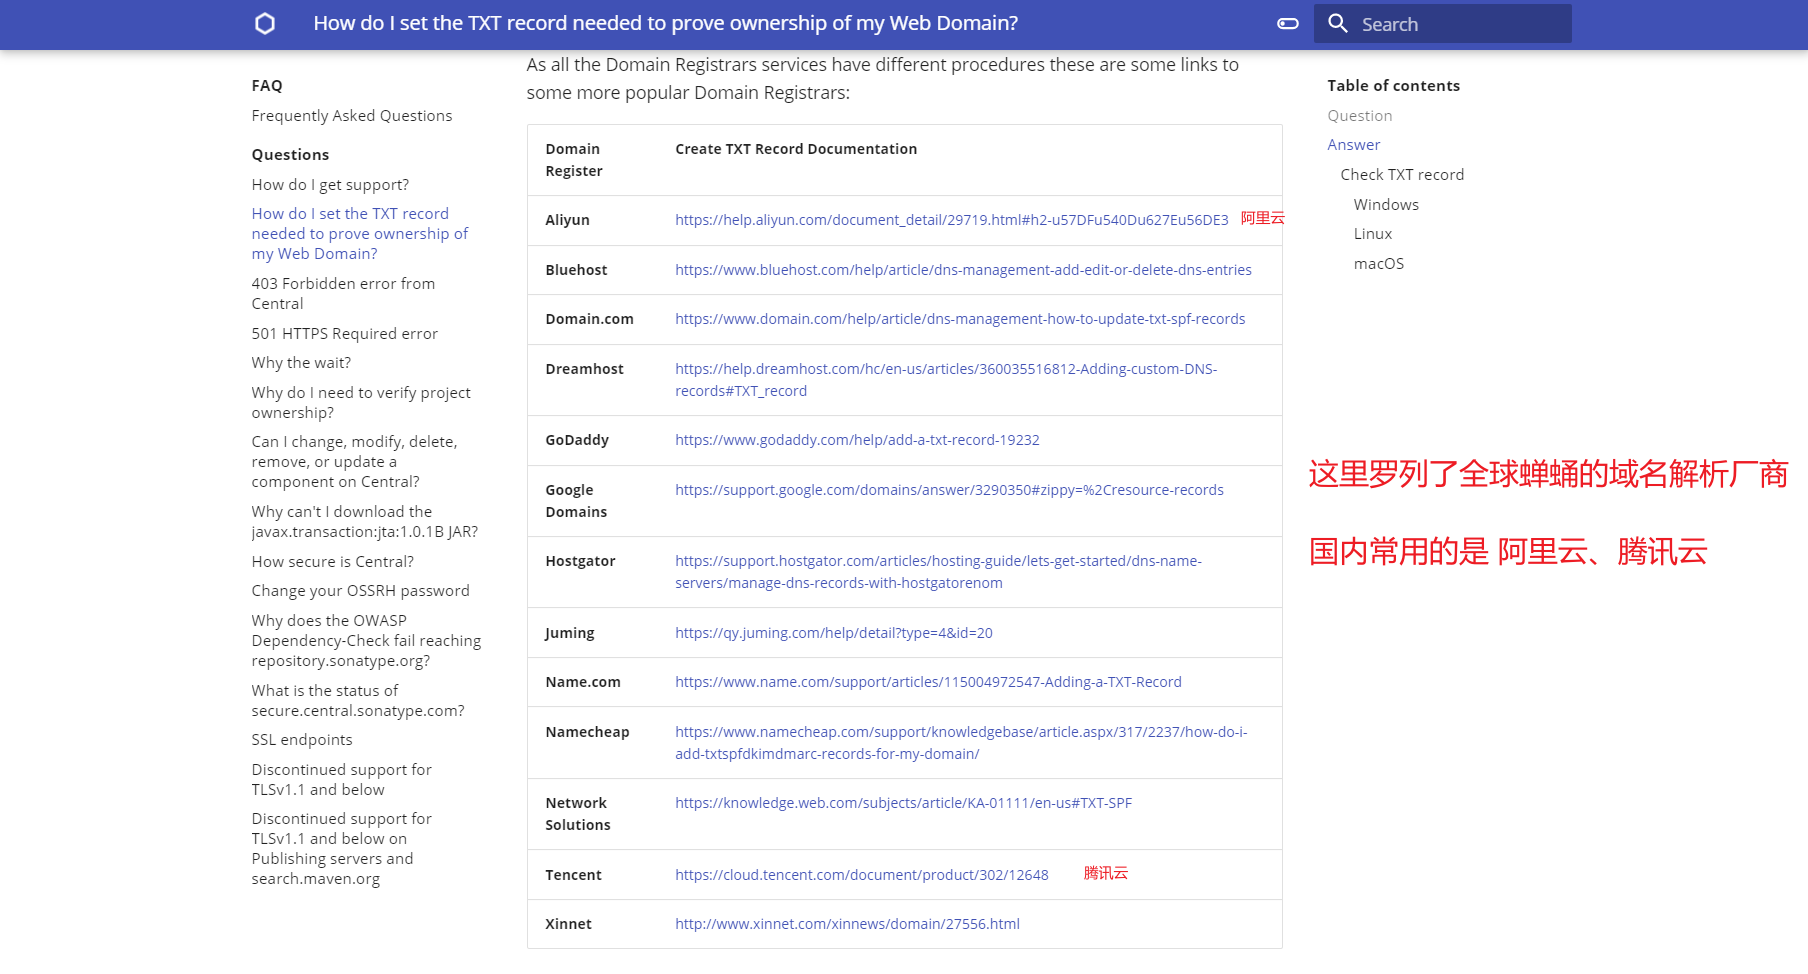
管理员很亲切地给了怎么域名添加解析记录的指导说明:https://central.sonatype.org/faq/how-to-set-txt-record/
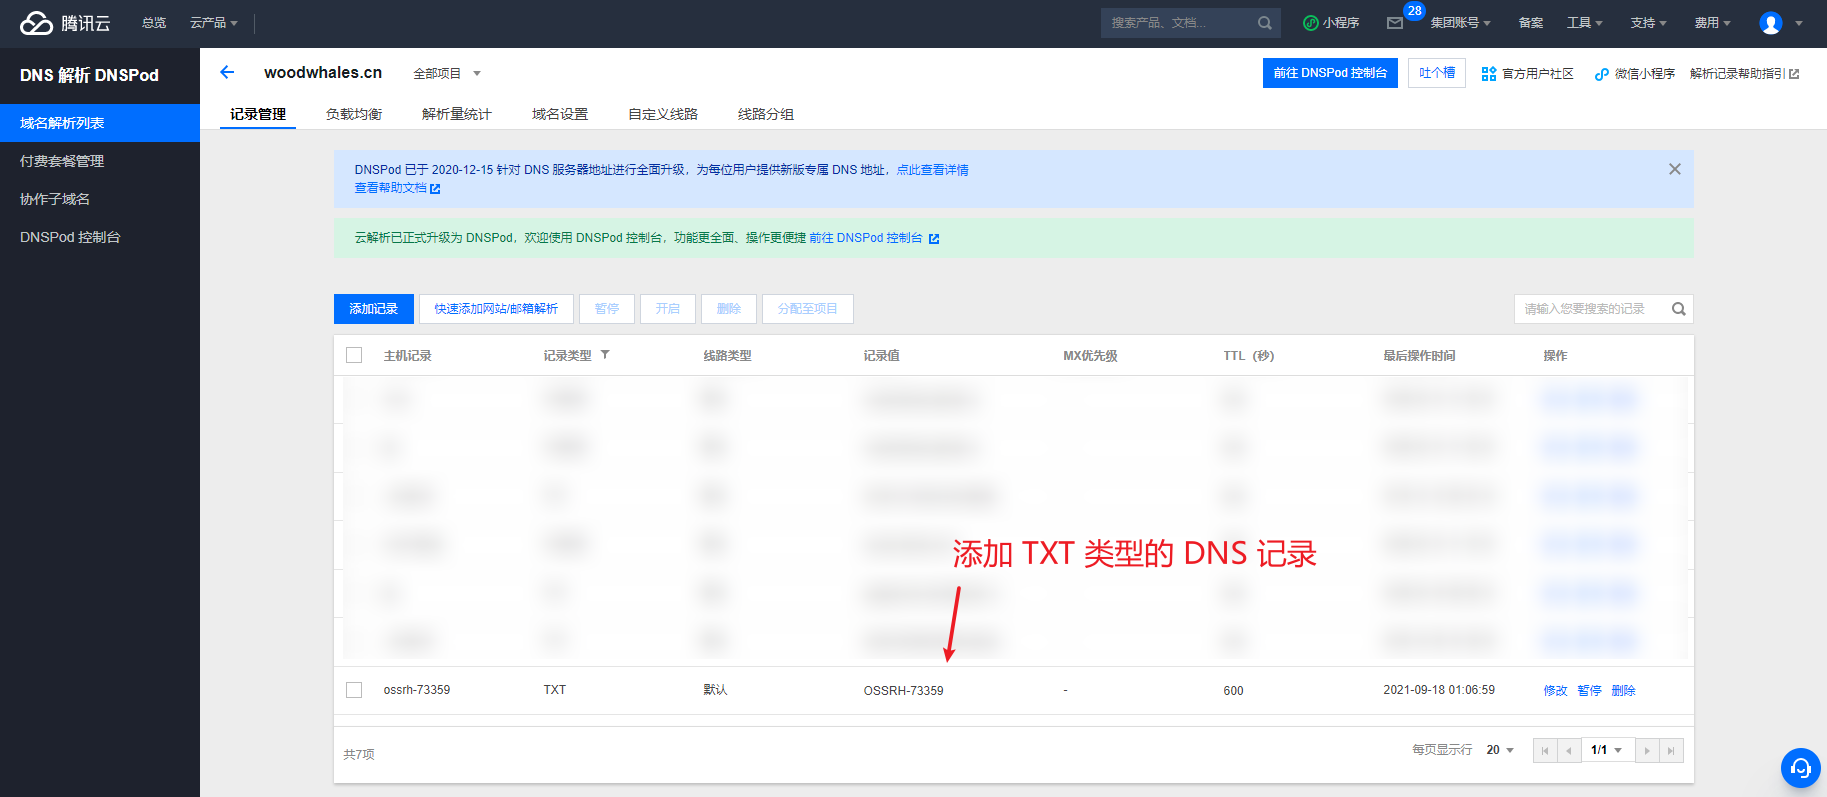
笔者的域名在腾讯云平台,进入域名解析平台,添加解析记录,稍等片刻即可收到管理员再次审核通过的信息:
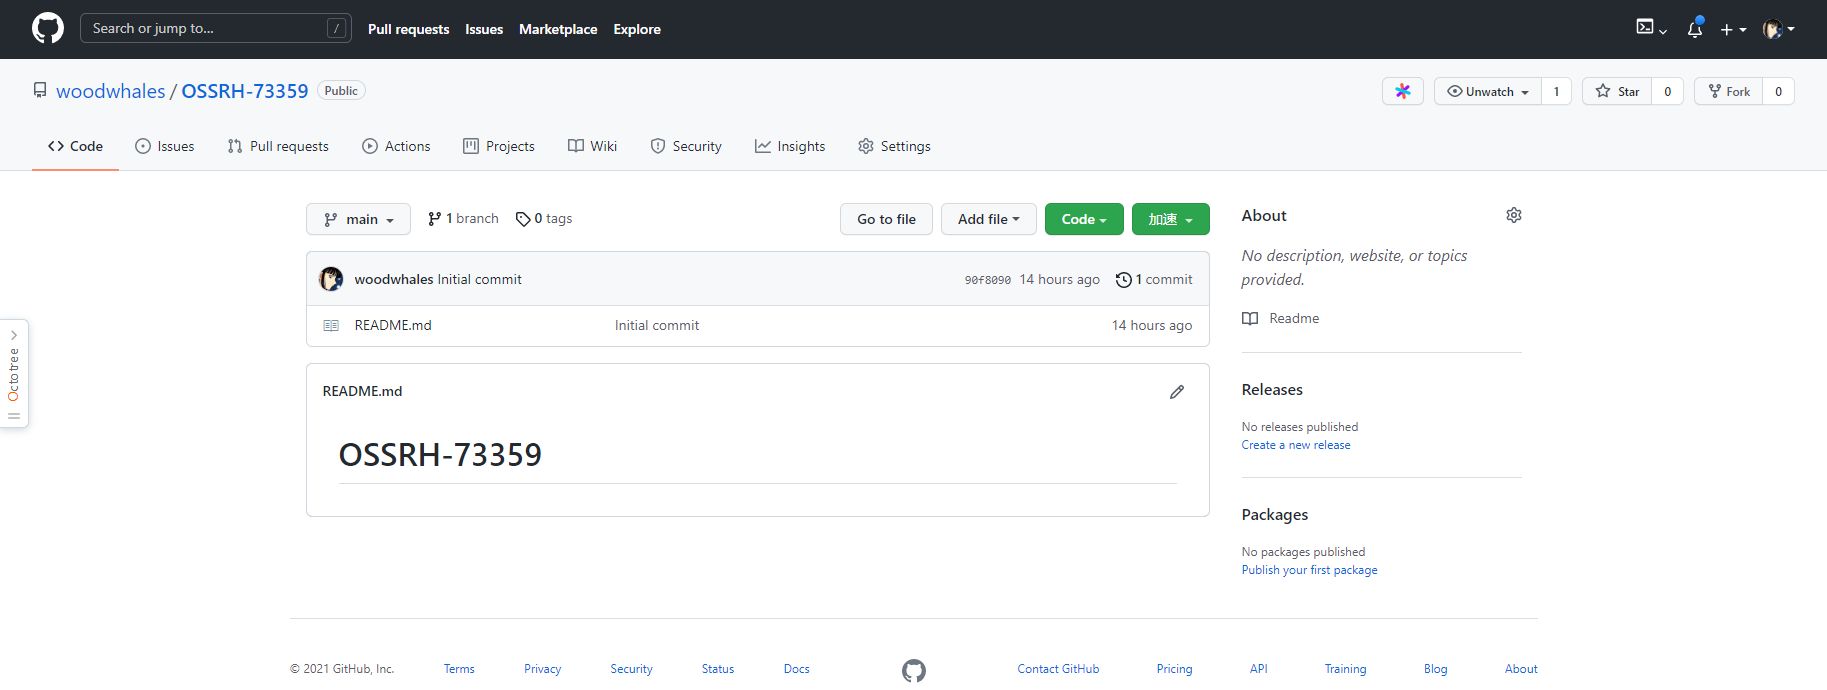
在 github 仓库中创建临时仓库:
因为已经完成了验证,所以笔者在完成本博文之后就删除了这个临时仓库。
当上述步骤按照管理员要求验证之后,稍等片刻,就会收到管理员验证通过的信息:
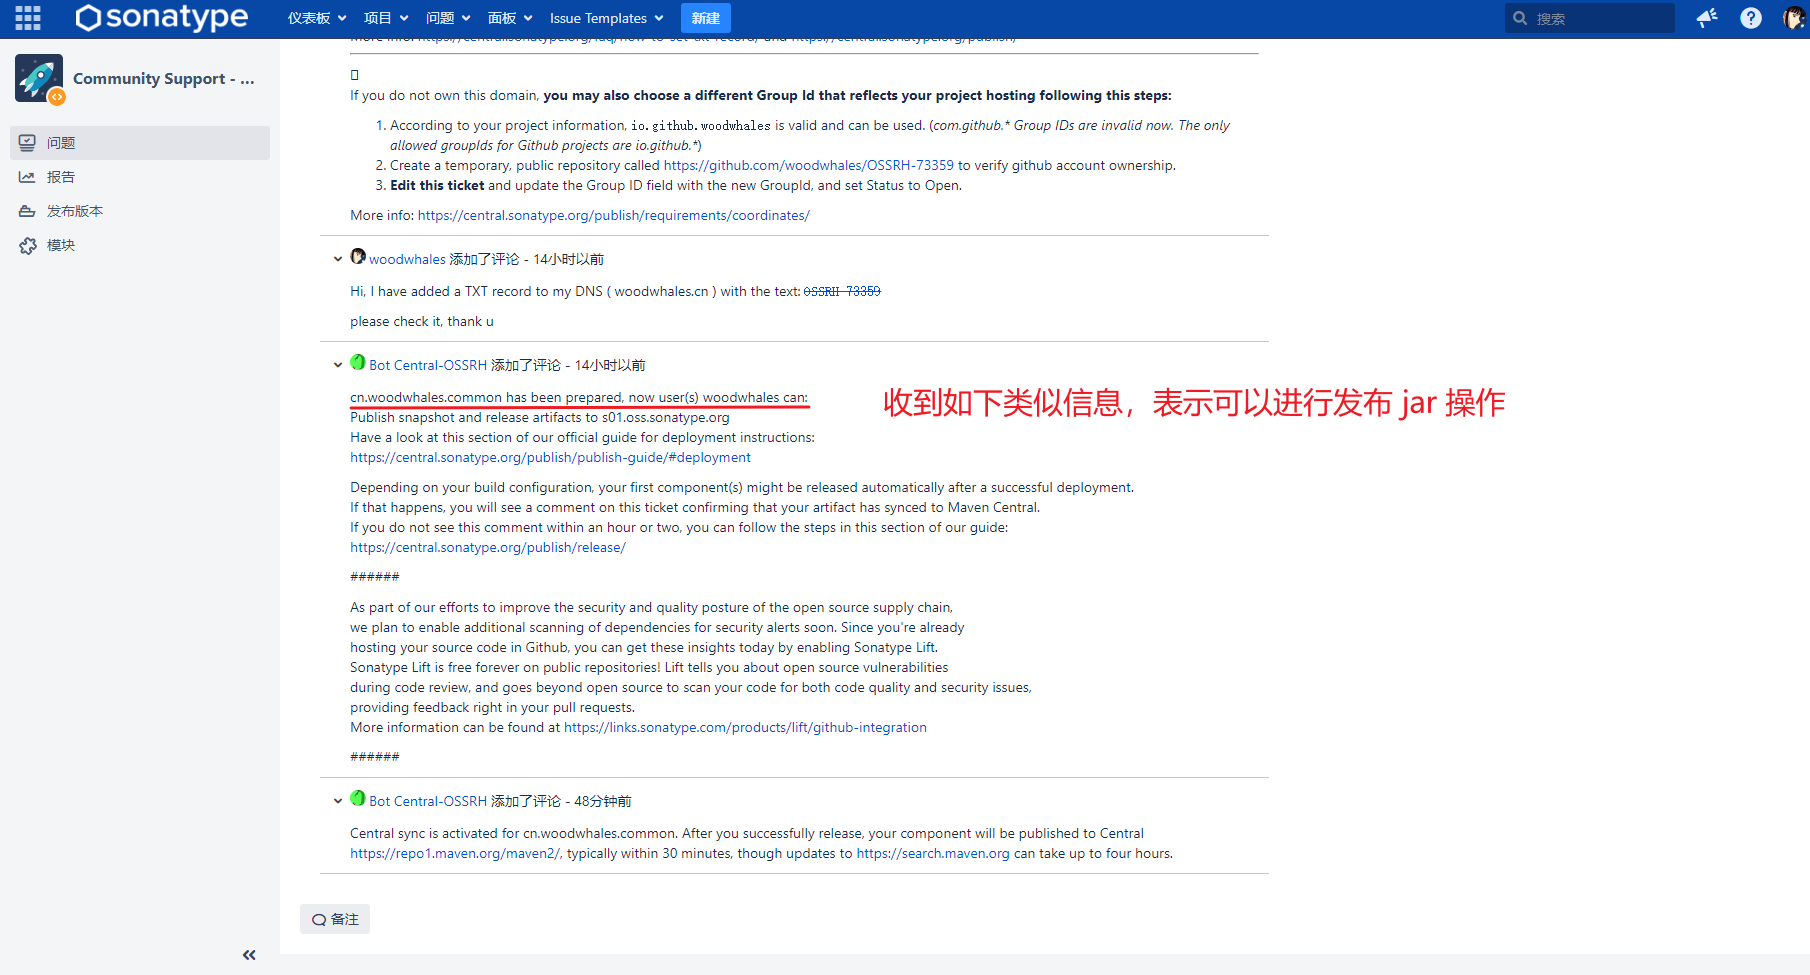
到此,我们可以按照管理员给的配置指南进行下一步操作了,可以不再使用 sonatype 网站。
值得注意是的是,工单的状态也变为已解决状态。
发布指南
参考管理员给的配置指南:https://central.sonatype.org/publish/publish-guide/#deployment,笔者是 maven 工程,所以点击 maven 工程配置指南:https://central.sonatype.org/publish/publish-guide/#deployment
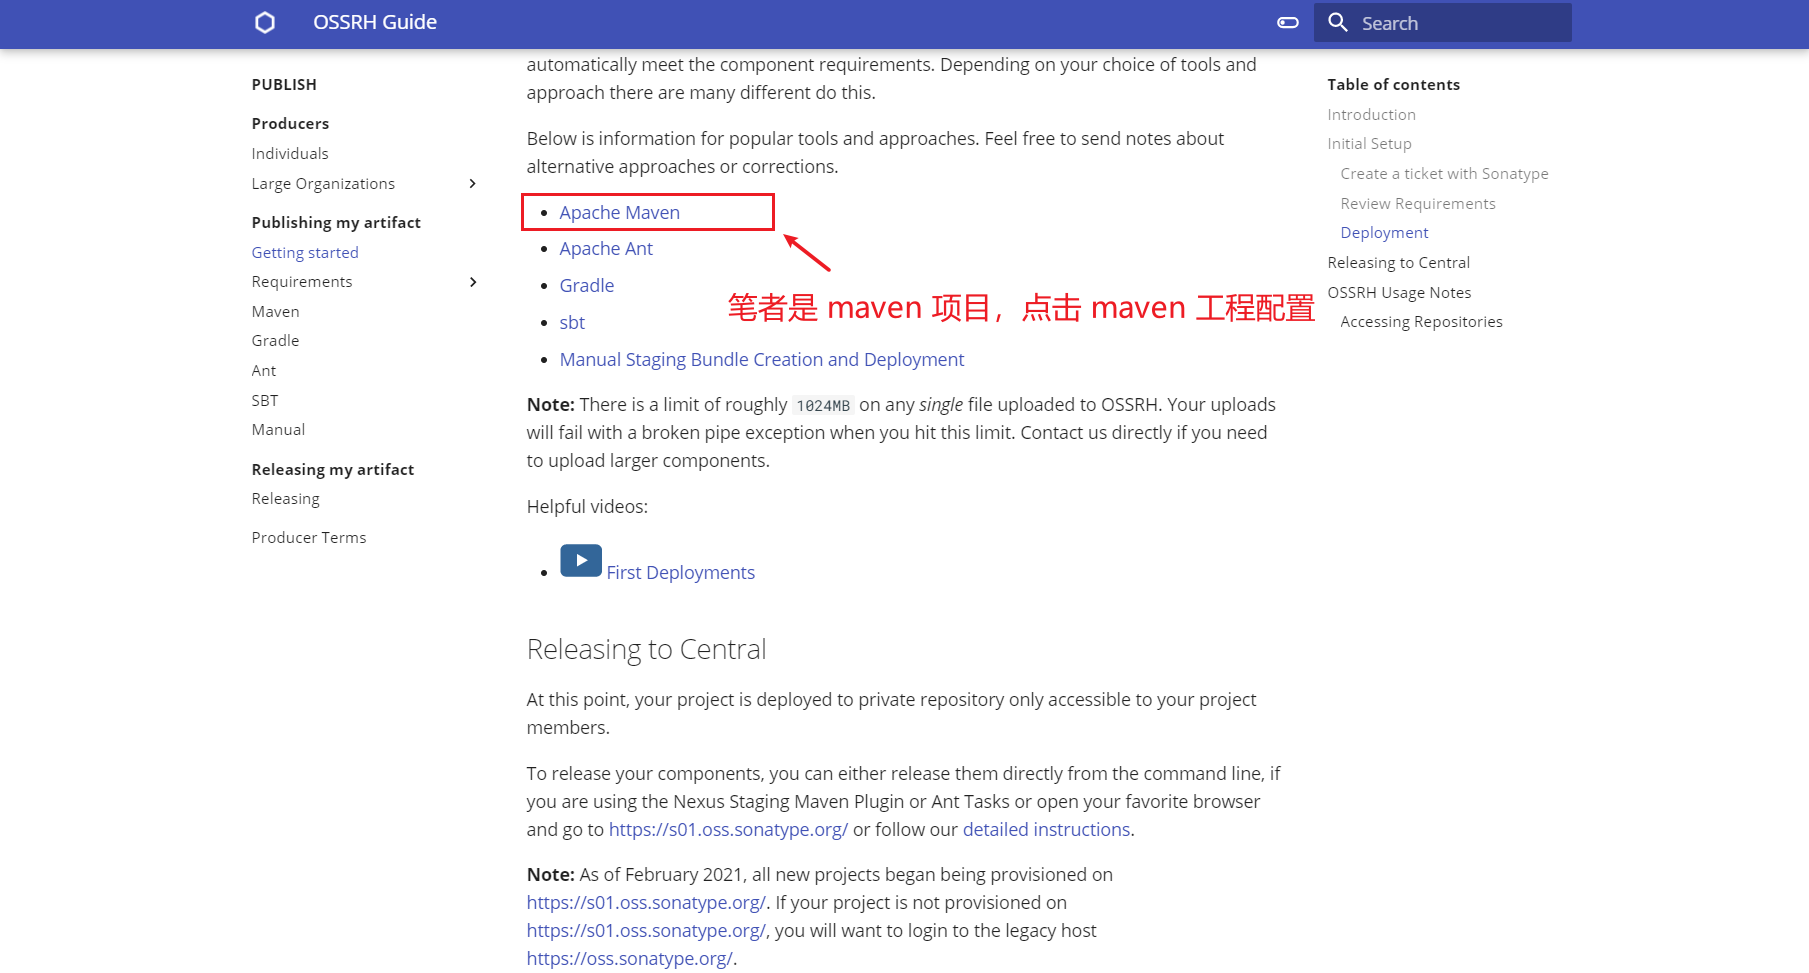
读者如果是其他版本控制工具,找到对应的文档自行配置即可,思路大致相同。
配置 maven 的 settings.xml
在自己本机的 maven 配置文件 settings.xml 中配置<server>:
1 | <settings> |
笔者建议这个<id>ossrh</id> 不要修改,就使用官方指南的即可。
GPG 签名配置
下载 GPG
sonatype 要求发布的 jar 需要使用 GPG 签名,所以需要安装 GPG,并生成密钥对。
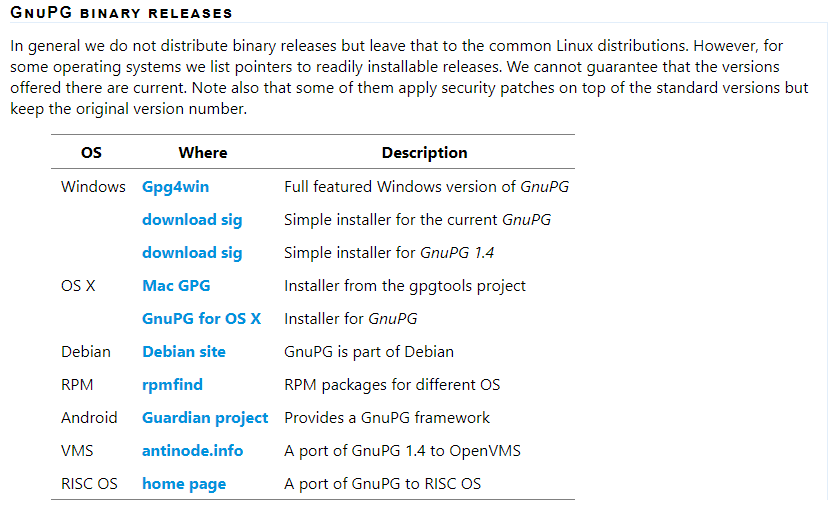
GPG 下载地址:
windows 环境:https://www.gpg4win.org/download.html
mac 环境:https://gpgtools.org/
GPG 官网有各个环境的安装包下载地址:https://gnupg.org/download/index.html
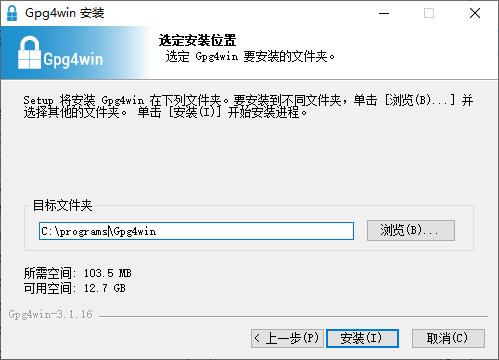
安装 GPG
安装 GPG 很简单,一直下一步即可安装成功。安装过程中要记得安装目录,后续会有使用到这个路径。
笔者安装在了 c 盘符下:
值得注意的是 GPG 会自动注册到系统环境变量中,所以我们可以直接在 cmd 窗口中验证是否安装成功:
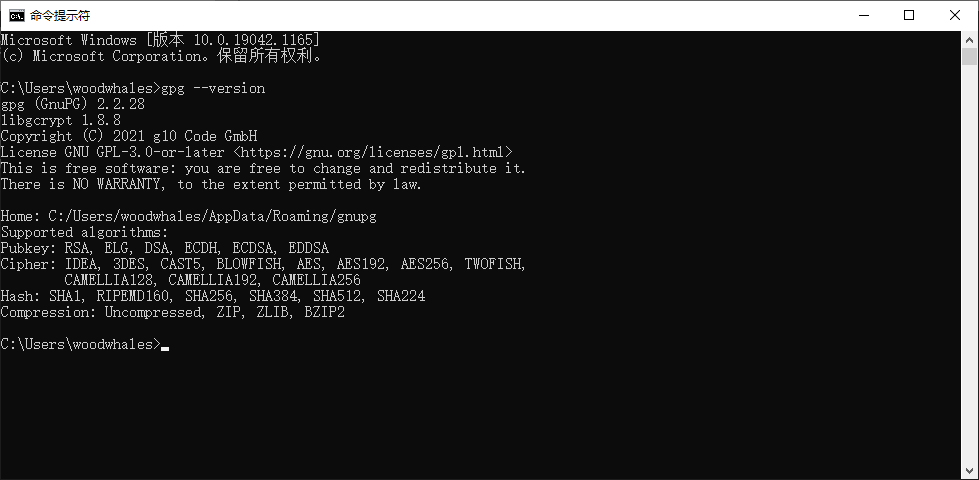
展示出 GPG 版本信息表示安装成功。另外,安装成功之后,桌面会出现一个快捷图标:Kleopatra

生成 GPG 证书(密钥对)
关于密码学相关知识,请移步至笔者的另一篇博文:漫谈密码技术
可以使用 GPG 命令在 cmd 窗口生成,也可以打开 Kleopatra 桌面程序生成。
方式1:命令生成
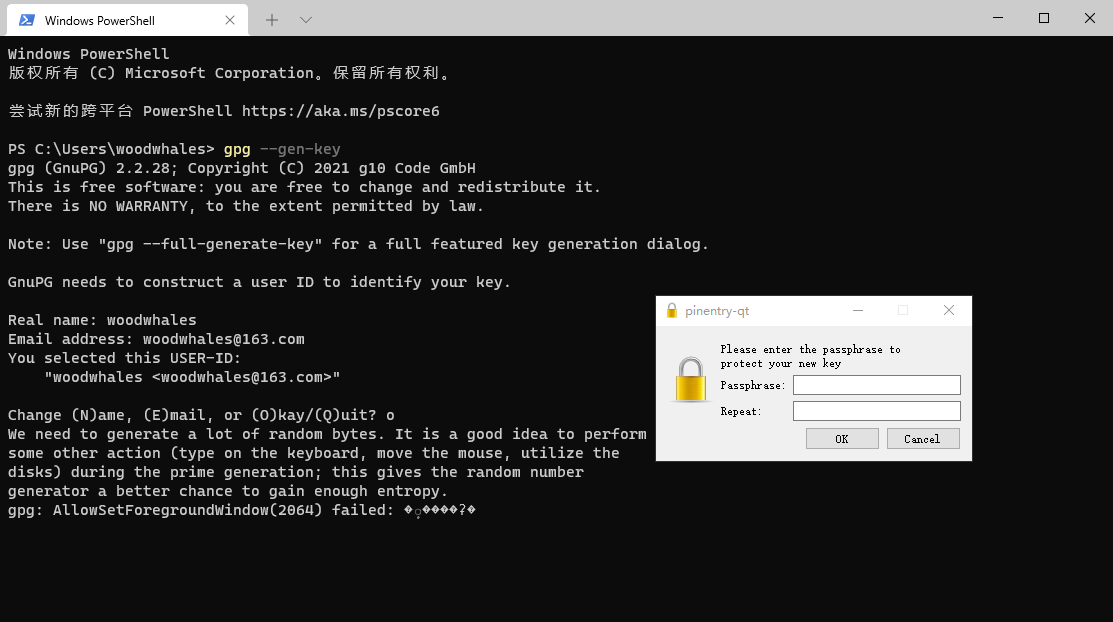
命令行生成生成秘钥: gpg --gen-key
按提示输入名字, 如:woodwhales,邮箱 [email protected],然后选择 (O) kay,输入英文字母 o
弹出设置密码框,记住这个密码,稍后会使用到:
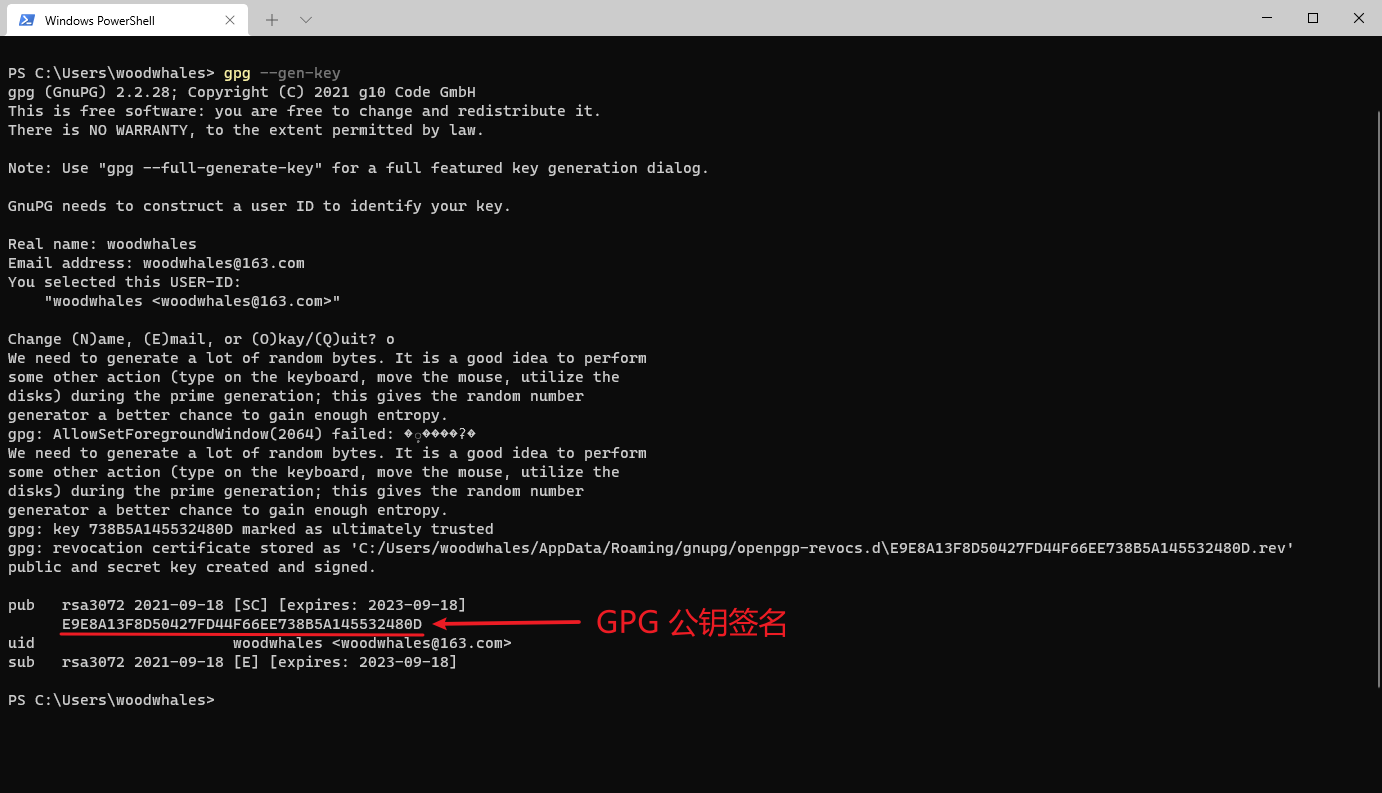
密码输入完成之后,程序生成密钥对,并展示出 GPG 公钥签名:
查看本系统已生成的所有密钥对信息: gpg --list-keys
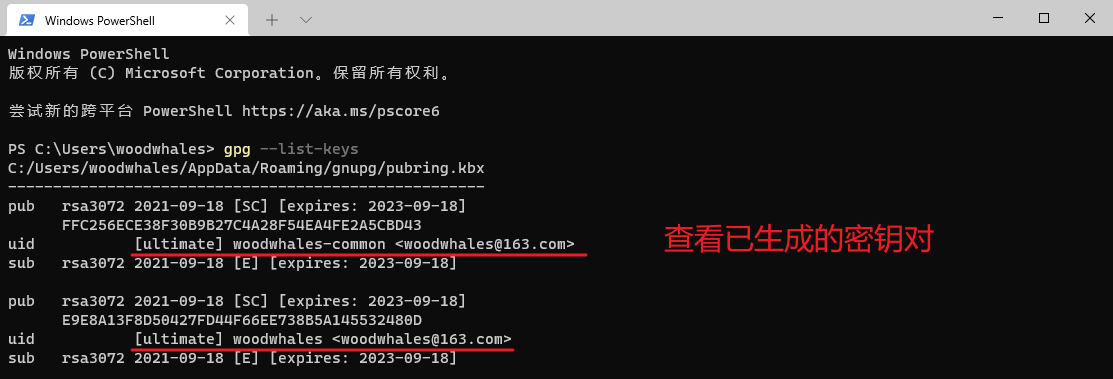
上图中有俩个公钥信息,第一个是笔者写本博文之前创建的,第二个是本博文操作创建的。
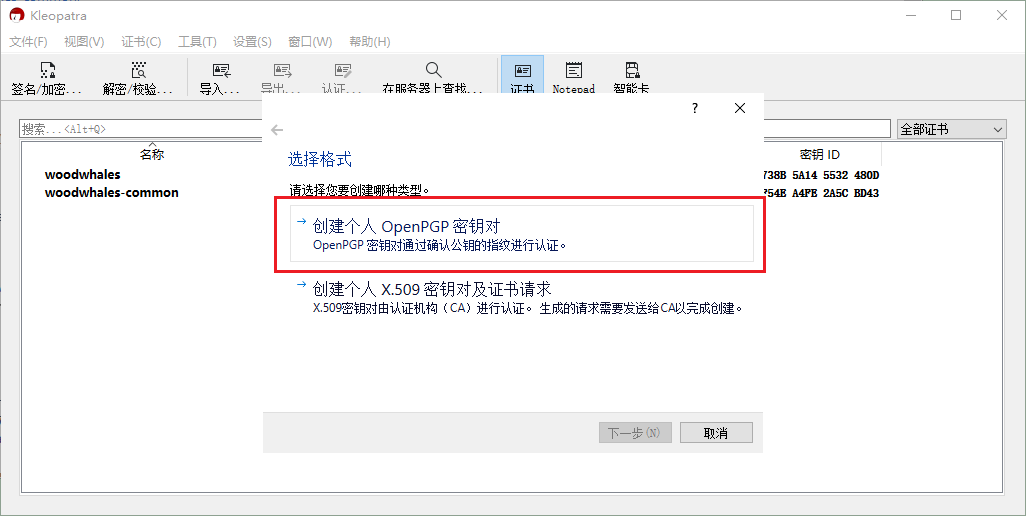
方式2:可视化生成
可视化的生成密钥对比命令行生成友好很多,并且直接展示已生成的所有密钥对信息:
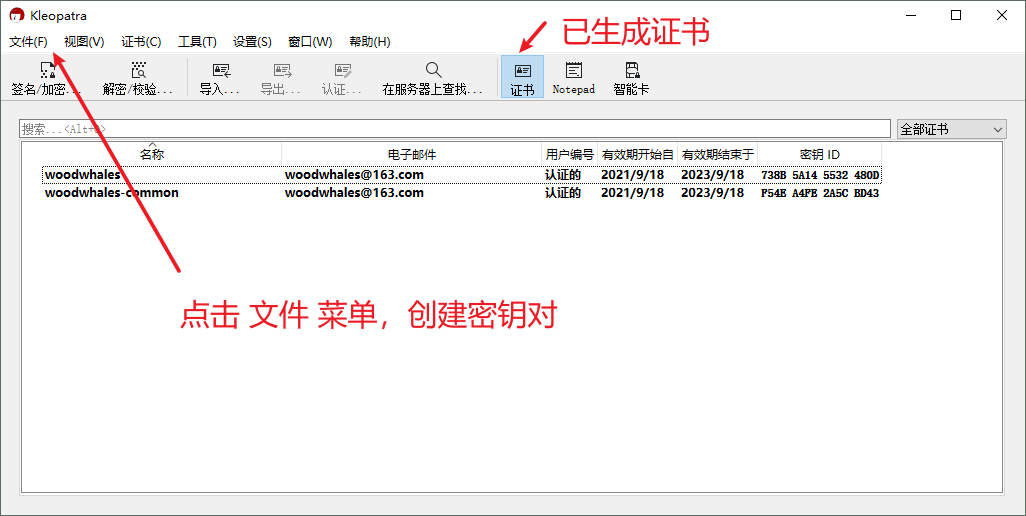
点击创建个人密钥对:
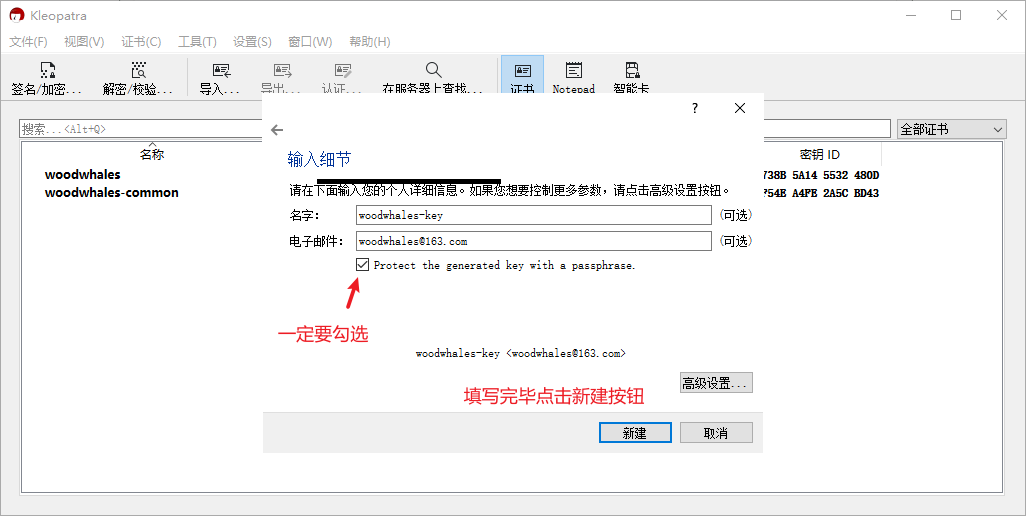
输入密钥名称、邮箱,勾选设置密码:
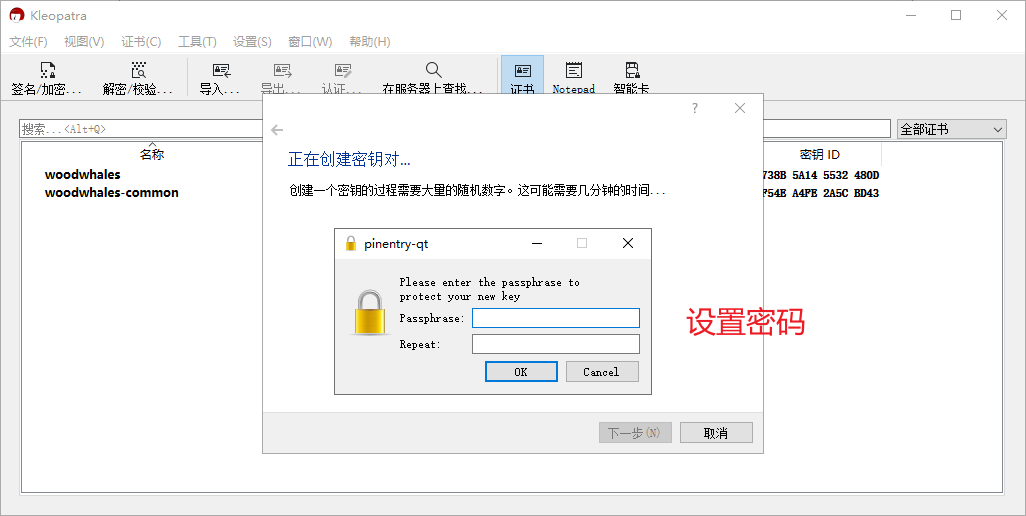
设置密码:
生成成功
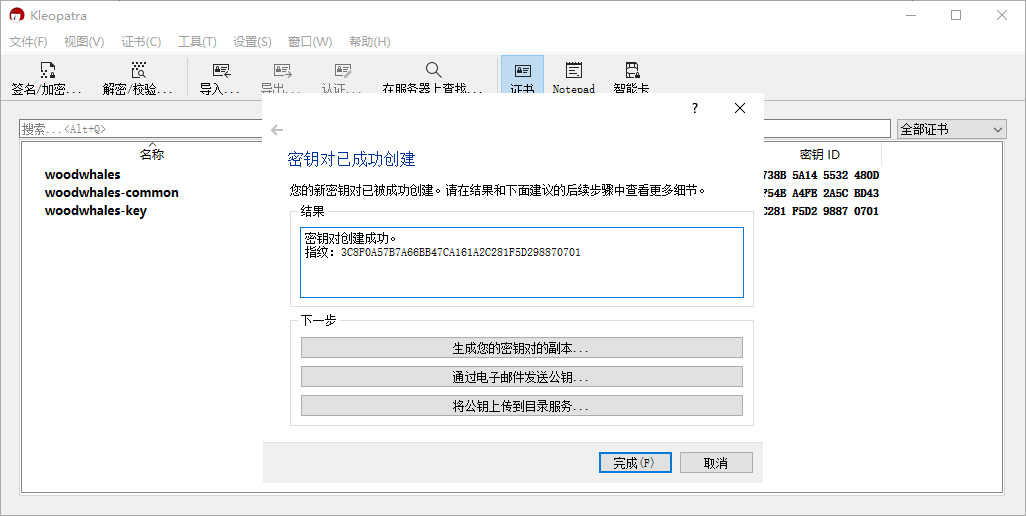
系统中又多了一个密钥对。
如果确认证书不需要使用了,可以右键点击删除。注意:一定要确认好,物理删除了可创建不会回来相同的密钥对了!
上传公钥证书至公钥服务器
使用 cmd 命令执行:
1 | gpg --keyserver hkp://pool.sks-keyservers.net --send-keys 公钥签名 |
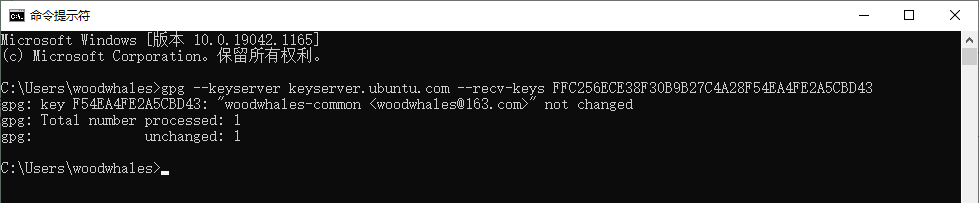
验证是否成功地上传到了两个服务器:
1 | gpg --keyserver hkp://pool.sks-keyservers.net --recv-keys 公钥签名 |
可能出现的上传失败问题
命令行上传至 hkp://pool.sks-keyservers.net 可能出现[gpg: keyserver receive failed: No name](https://stackoverflow.com/questions/66217436/gpg-keyserver-receive-failed-no-name)问题。
解决方案1
可以参考:https://central.sonatype.org/publish/requirements/gpg/#distributing-your-public-key 文档中的镜像替换,即将hkp://pool.sks-keyservers.net 替换为镜像列表中的镜像。
1 | keyserver.ubuntu.com |
解决方案2
笔者创建至 hkp://pool.sks-keyservers.net 失败了,可以使用 Kleopatra 导出公钥,浏览器访问公钥服务器:https://keys.openpgp.org/ 官网,然后上传公钥证书,上传成功之后,服务器会给你的邮件发一封确认邮件。

在搜索框中搜索邮箱得到信息,则表示上传成功:https://keys.openpgp.org/search?q=woodwhales%40163.com

再次配置 maven 的 settings.xml
在自己本机的 maven 配置文件 settings.xml 中再次配置<profile>:
1 |
|
上述配置中:
<id>ossrh</id>:和<server>中 sonatype 账号的 id 一致
<gpg.executable>:gpg.exe 绝对路径,如果不配置,可能在后续发布的时候 maven-gpg-plugin 插件报找不到 gpg.exe 错误。
<gpg.passphrase>:上述步骤中创建的密钥对的密码
配置项目中的 pom.xml
在要发布的 maven 工程的 pom.xml中配置:项目名称、描述、开源协议信息、开发者信息、 发布信息、发布插件:
1 |
|
对 maven 工程执行即可发布 jar 至 maven 仓库,注意工程版本不要带有SNAPSHOT:
1 | mvn clean deploy |
发布成功之后,可以在 search.maven.org 中搜索到自己刚刚上传的 jar 文件。
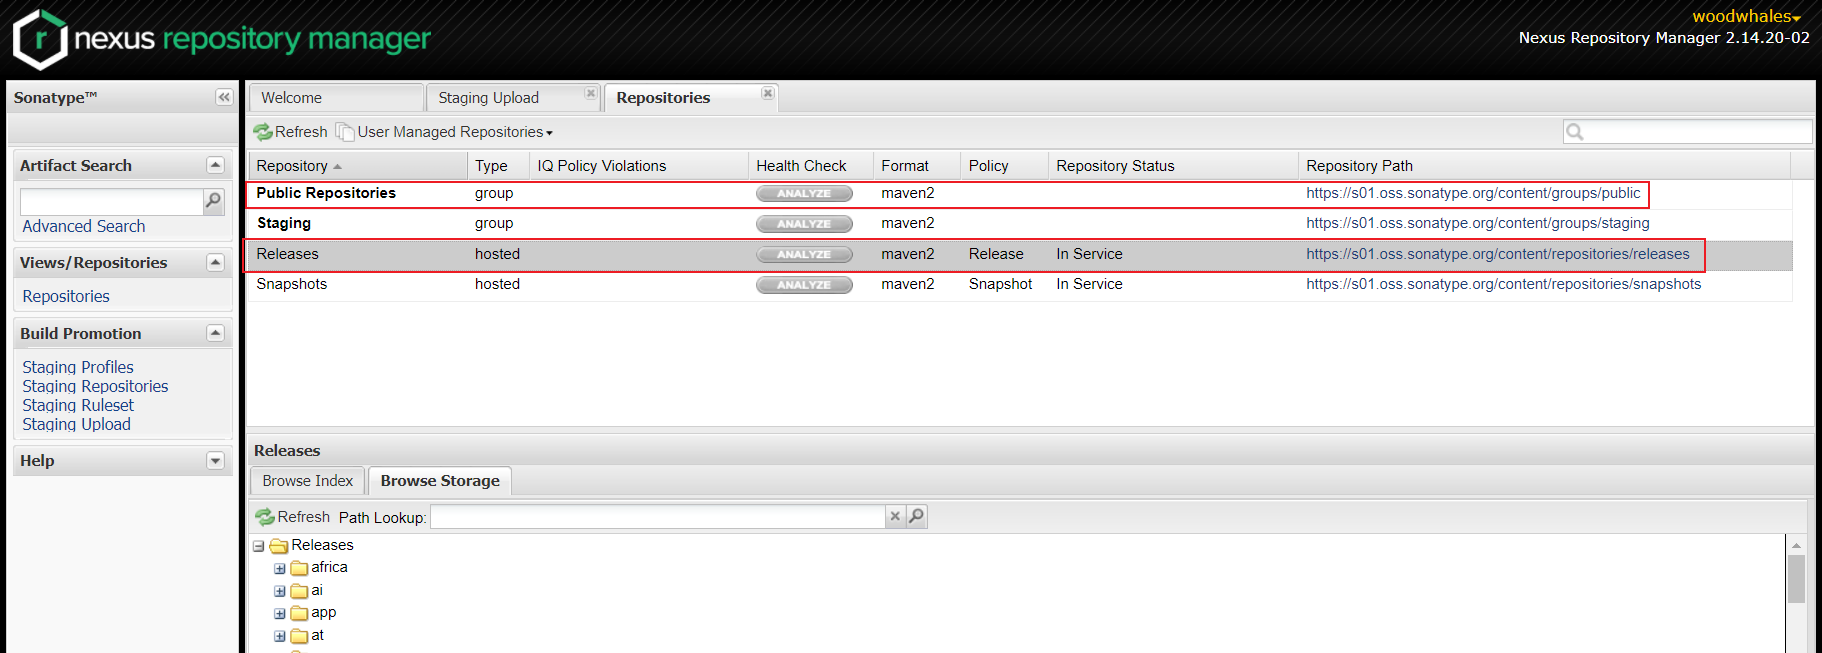
并在 https://s01.oss.sonatype.org/#welcome 中使用 sonatype 的 Jira 账号登录,从 https://s01.oss.sonatype.org/content/groups/public/ 和 https://s01.oss.sonatype.org/content/repositories/releases/ 中可以看到发布的 jar 文件。
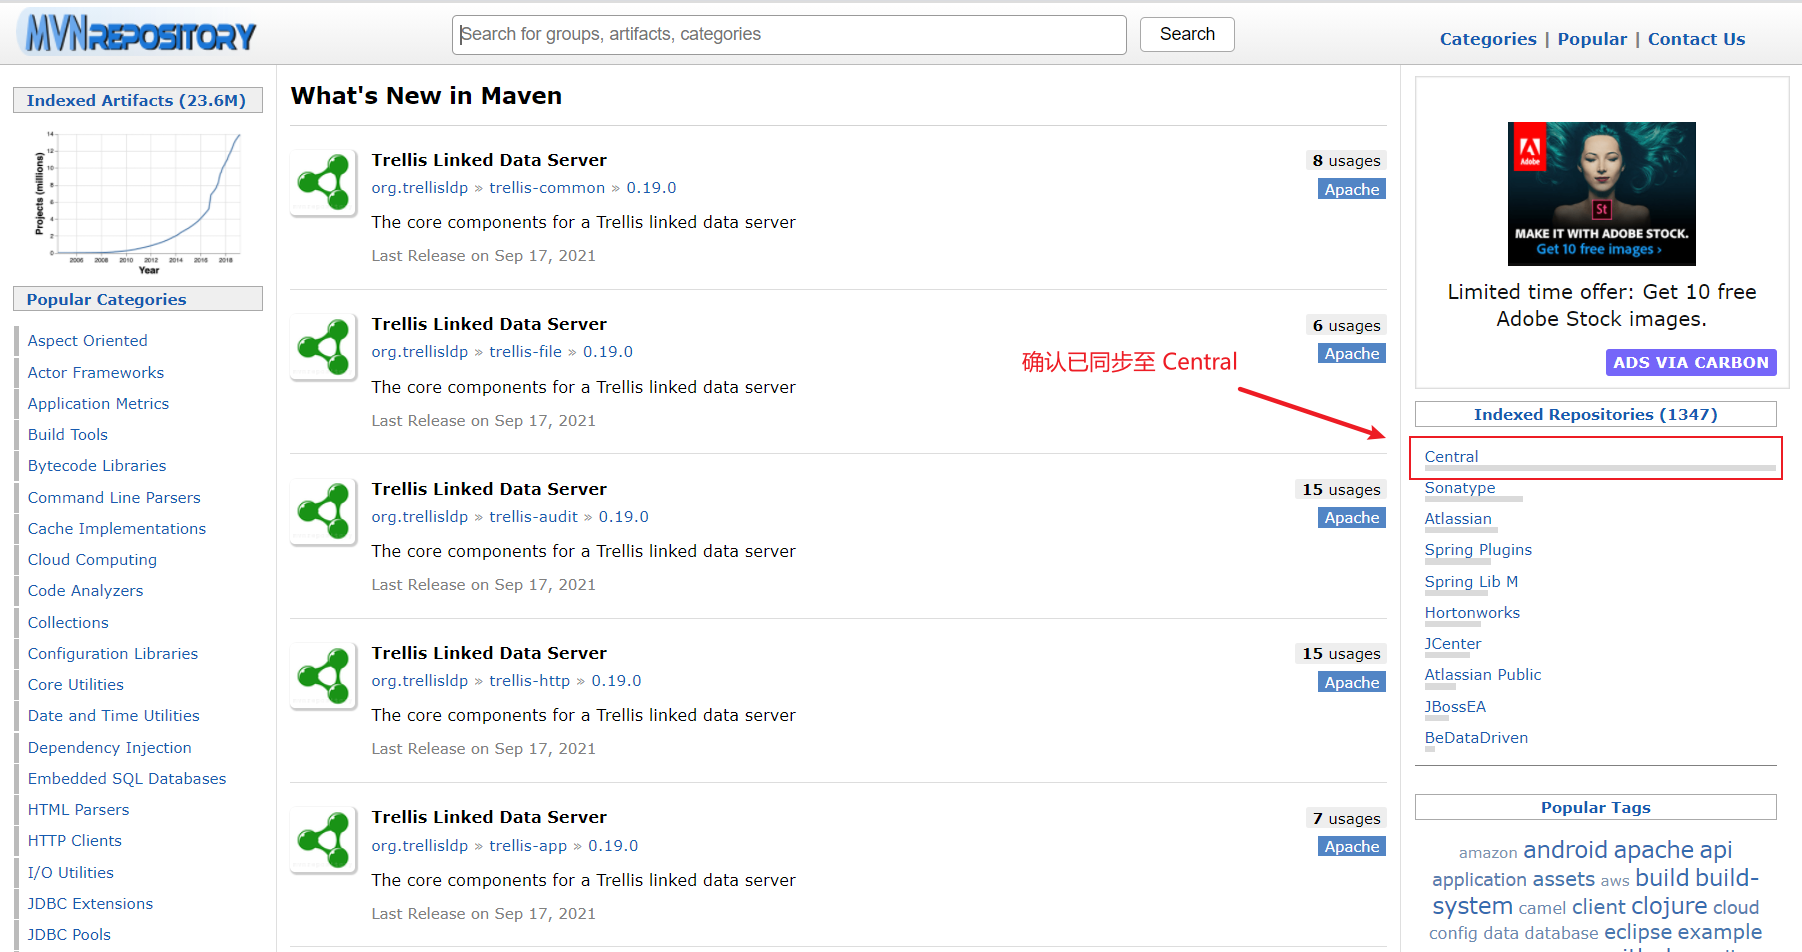
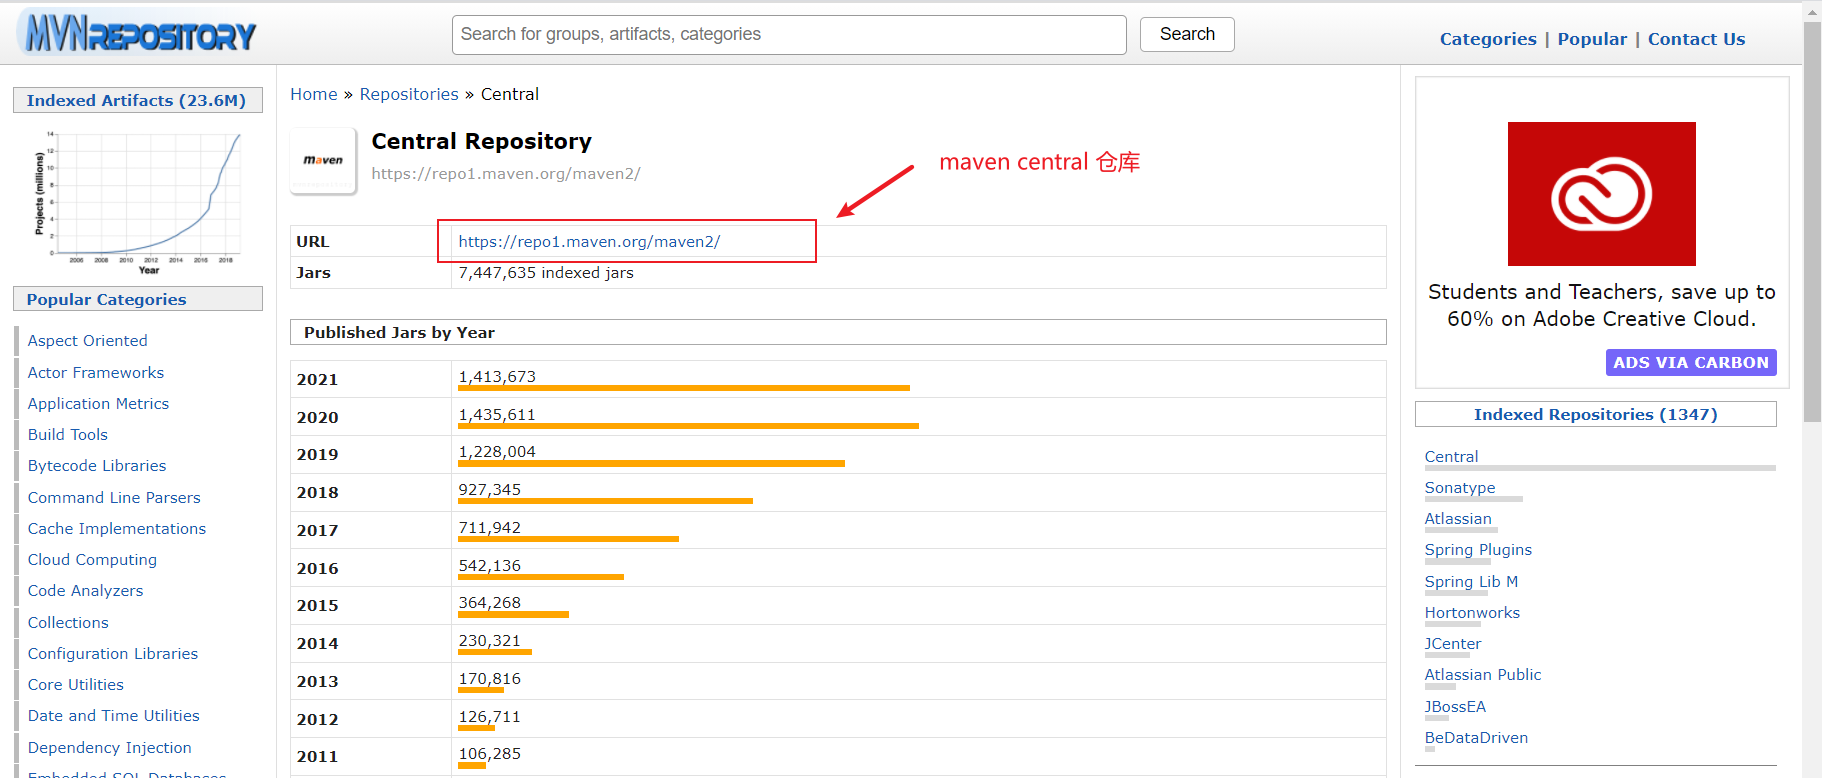
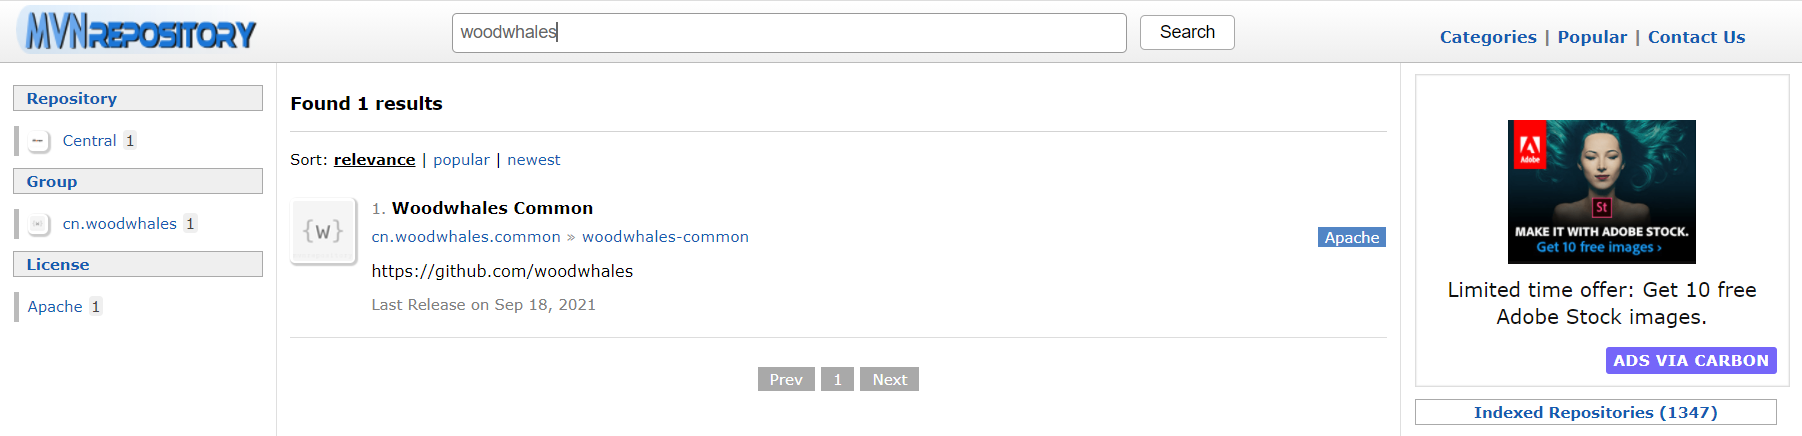
另外在 https://mvnrepository.com/ 中已可以确认一下 maven central 中也已经同步了:
maven central 仓库:
通知管理员关闭 issue
上述步骤操作完毕之后,能顺利发布 jar 至 releases 仓库,则需要在最开始的工单中评论,请管理员关闭工单。
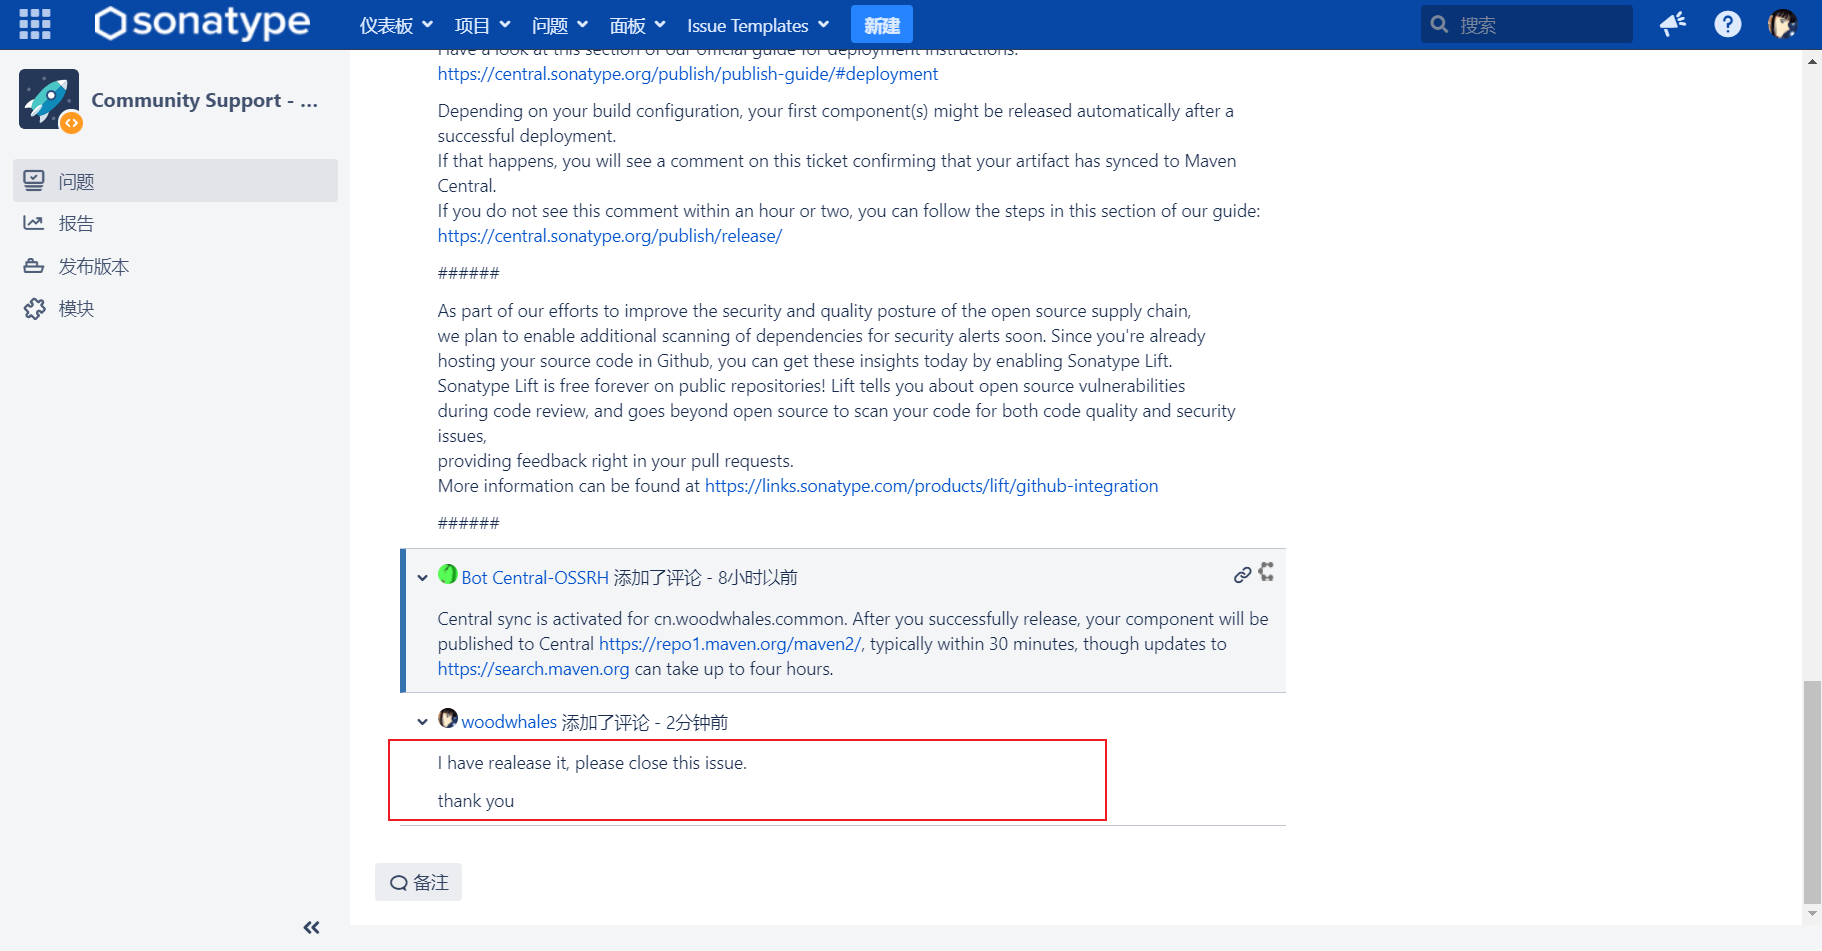
并将工单的是否已同步至 central 状态改为 Yes:
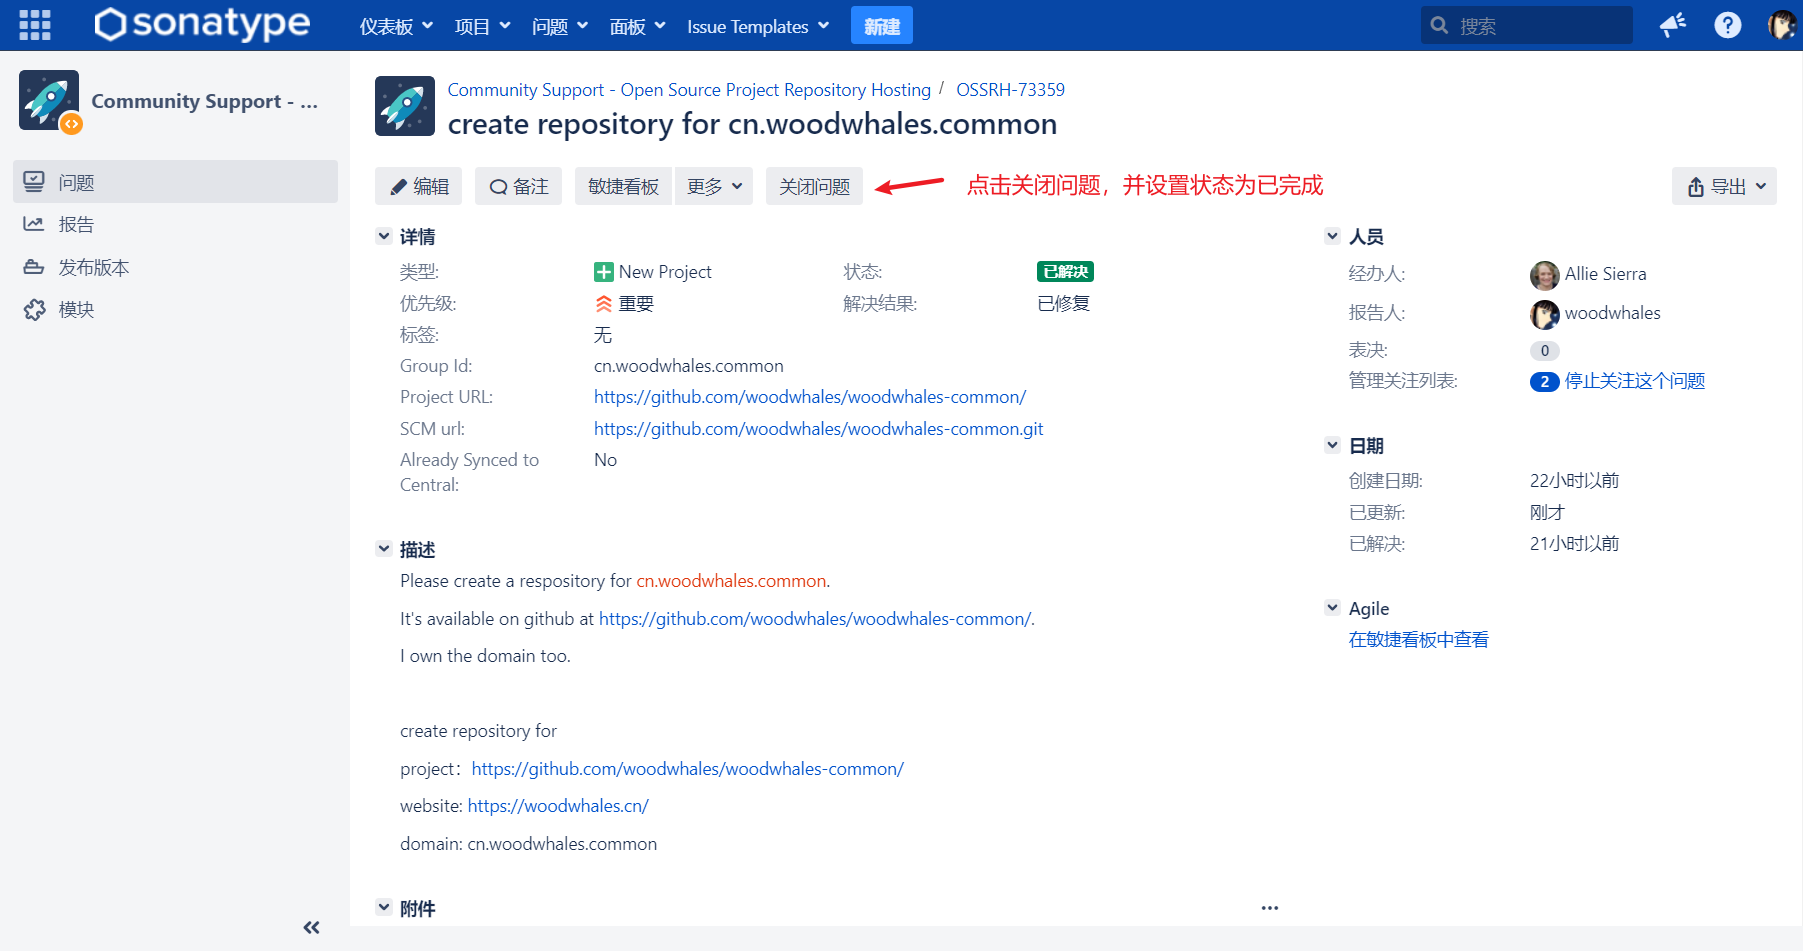
填写已关闭 issuse

笔者上传自定义开源 jar 文件至 maven 仓库成功之后,在隔一天之后可在 https://mvnrepository.com 网站搜索到该 jar 信息:https://mvnrepository.com/search?q=woodwhales
参考资料
The Central Repository Documentation
GPG 使用 Maven 签名后发送到中央仓库提示 Upload your public key and try the operation
jar maven 中央仓库 GPG问题 deploy 400