
安装包准备
centos官方地址:https://www.centos.org/
阿里云镜像:https://mirrors.aliyun.com/centos/
网易云镜像:http://mirrors.163.com/centos/
笔者推荐:centos 7 版本
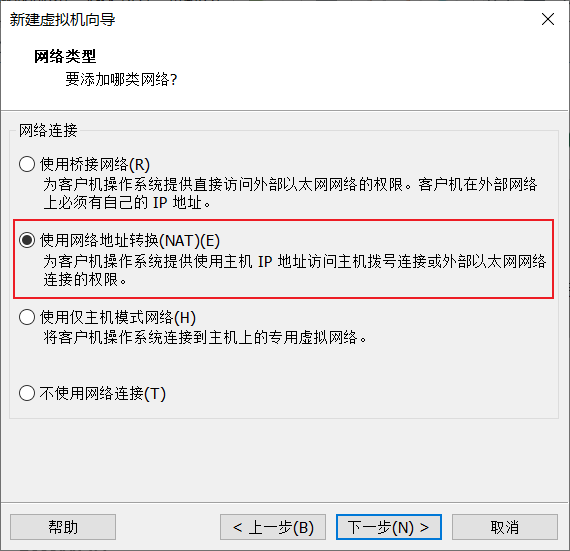
vmware 网络配置
步骤1:打开虚拟网络编辑器

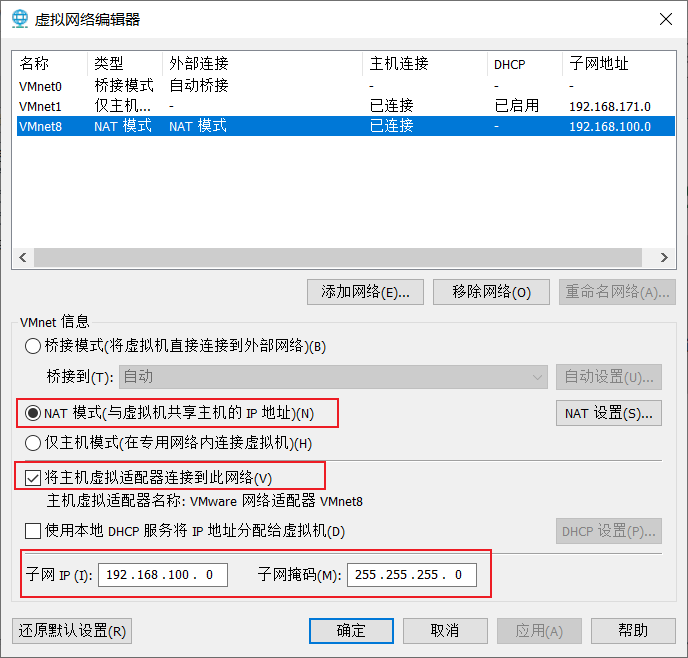
步骤2:选择设置NAT模式
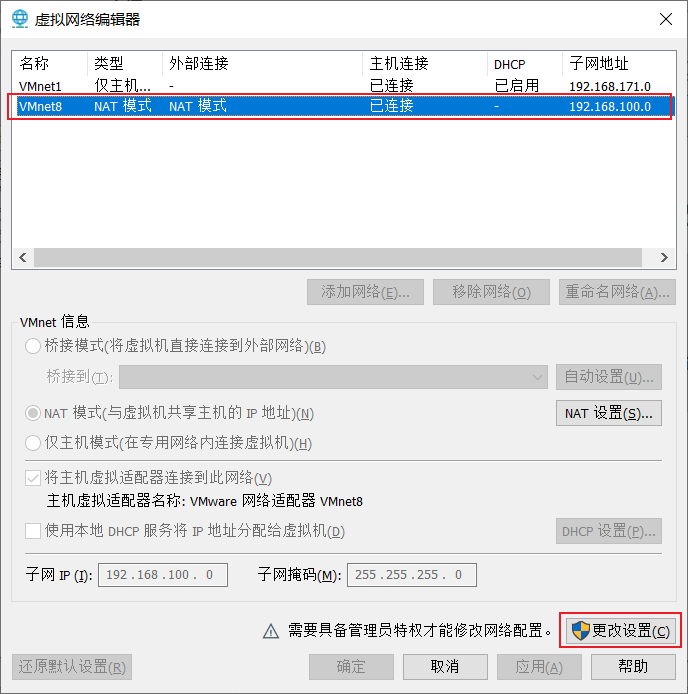
点击更改设置进行网络设置。
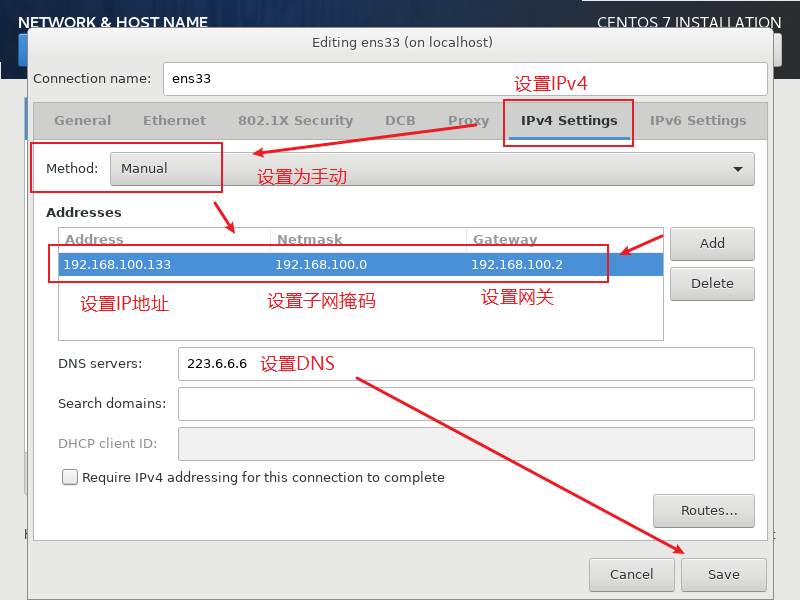
笔者设置的配置为:
子网IP:192.168.100.0
子网掩码:255.255.255.0
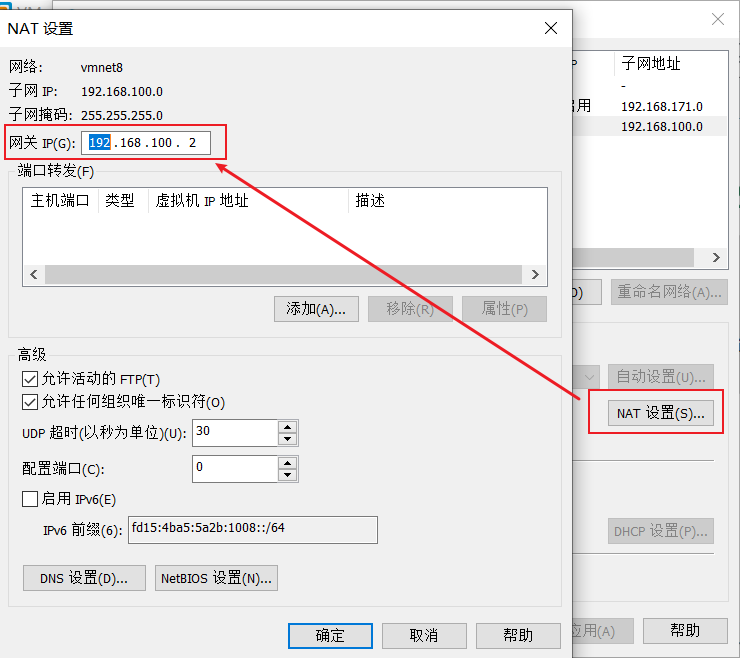
网关IP:192.168.100.2
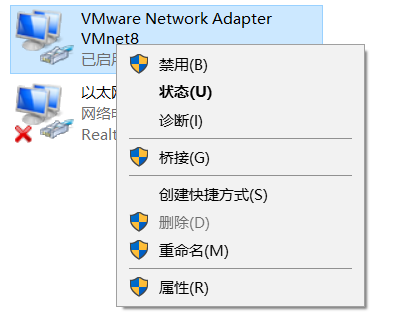
步骤3:设置 VMnet8 网卡网络配置
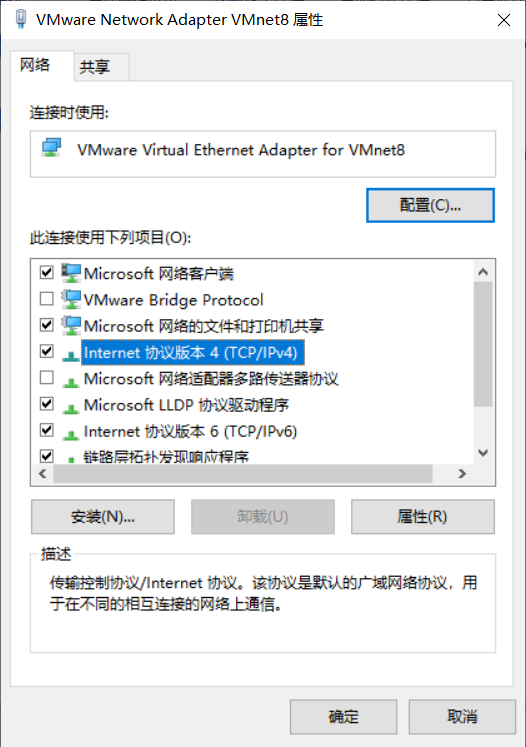

笔者设置了阿里云的 DNS 中的 223.6.6.6 或者 223.5.5.5。
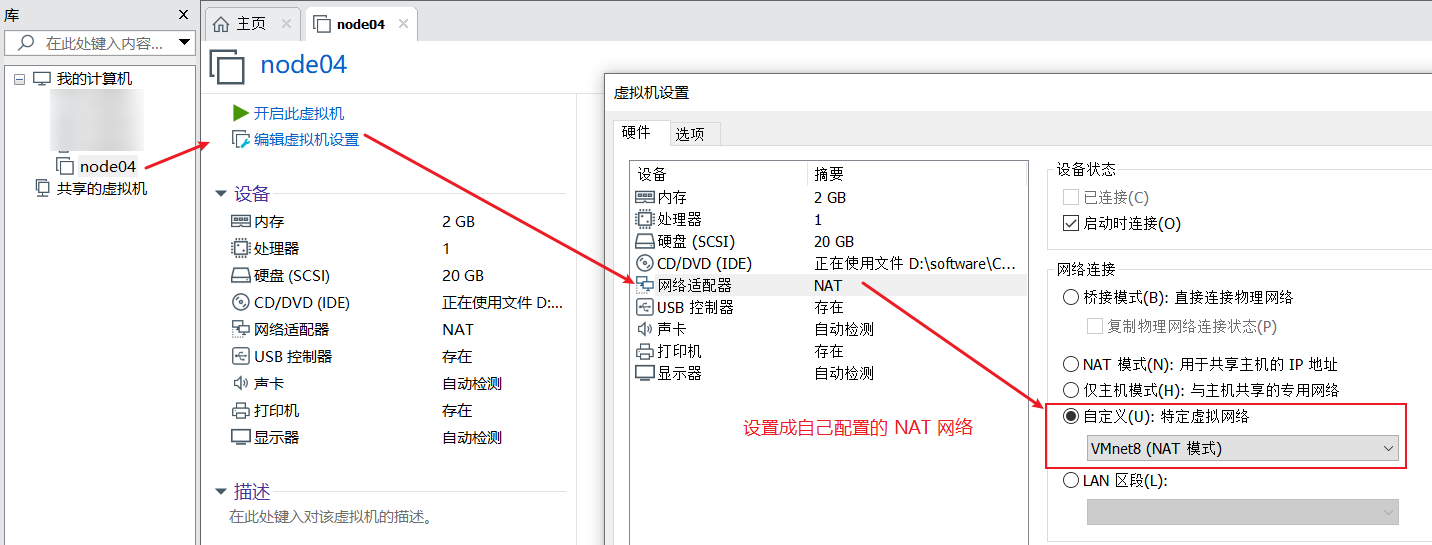
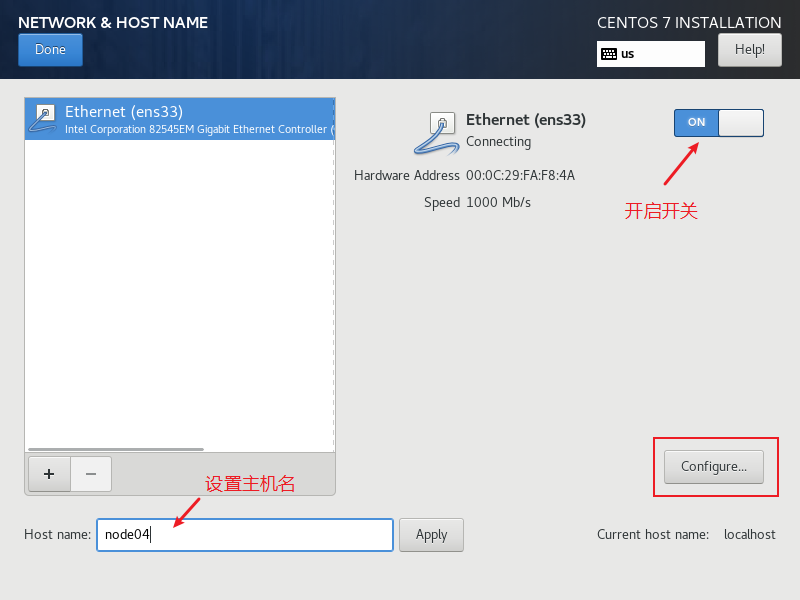
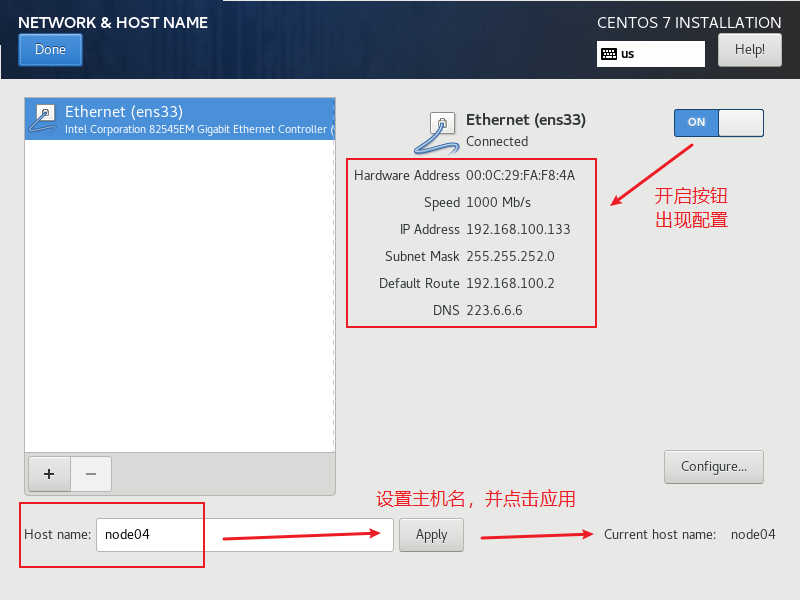
虚拟机网络设置
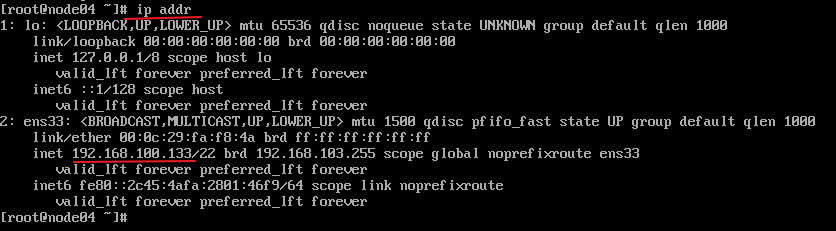
安装 centos 之后,设置虚拟机的网络
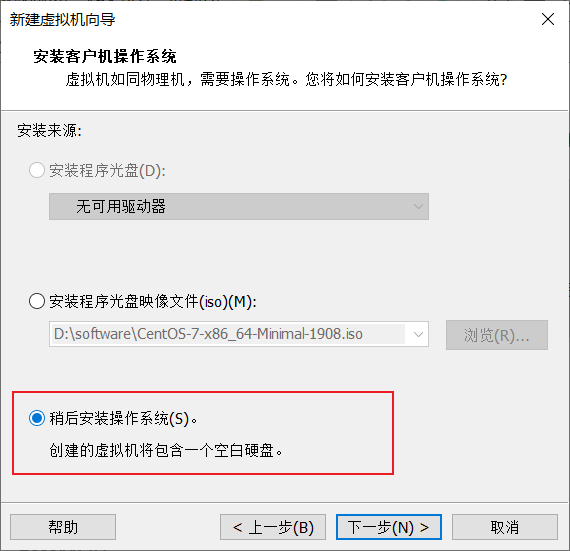
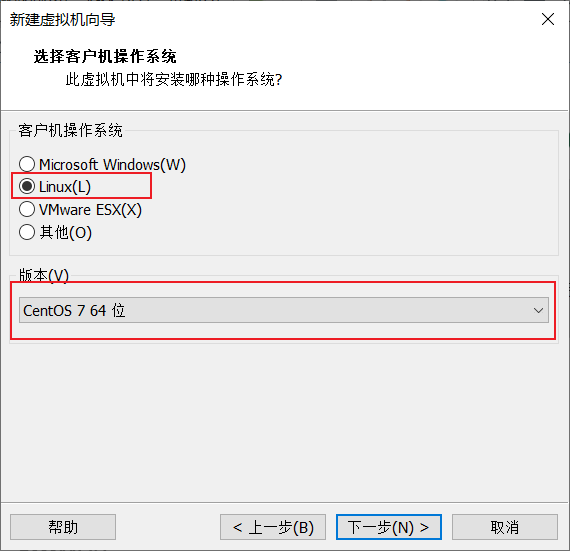
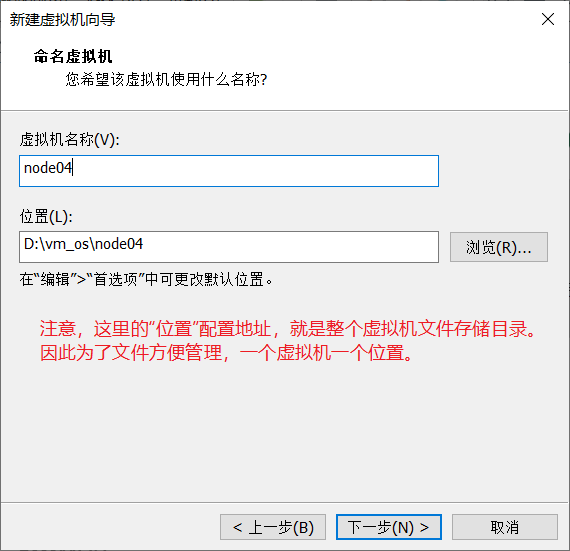
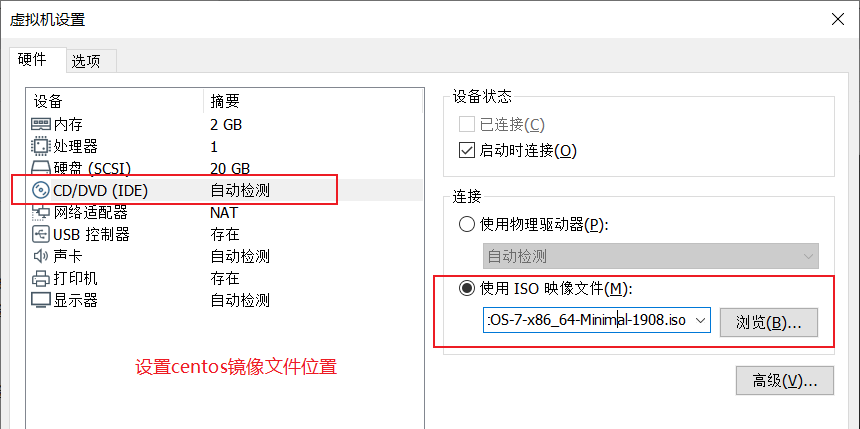
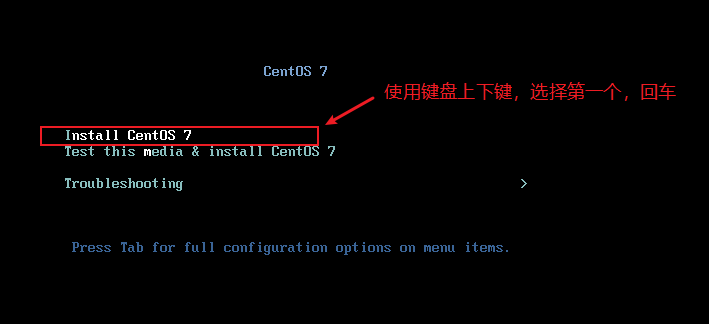
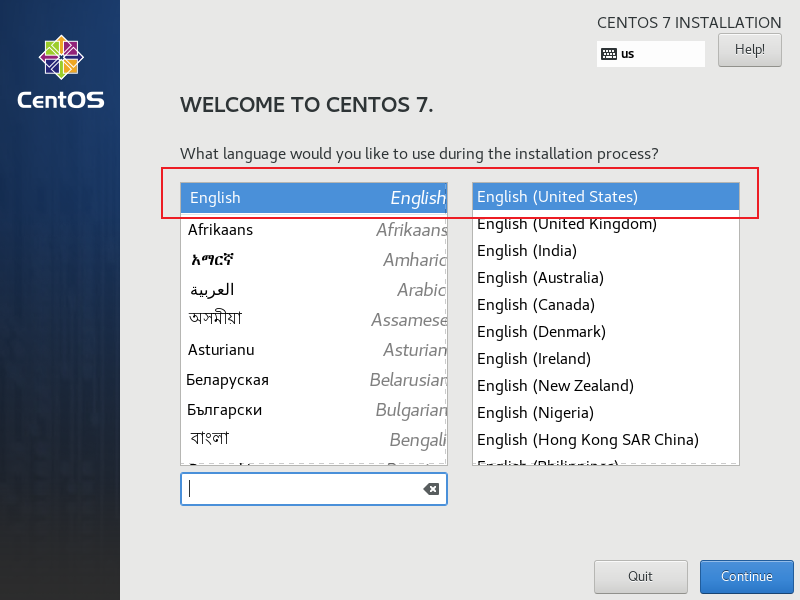
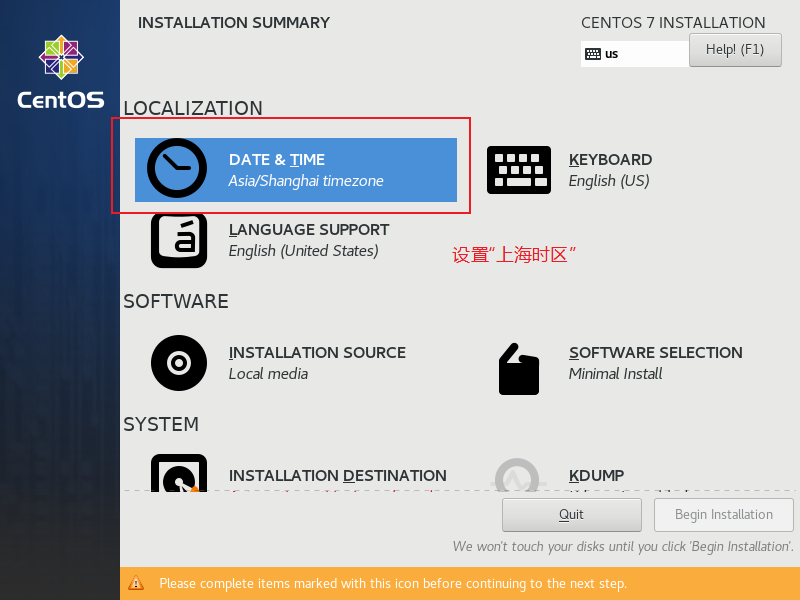
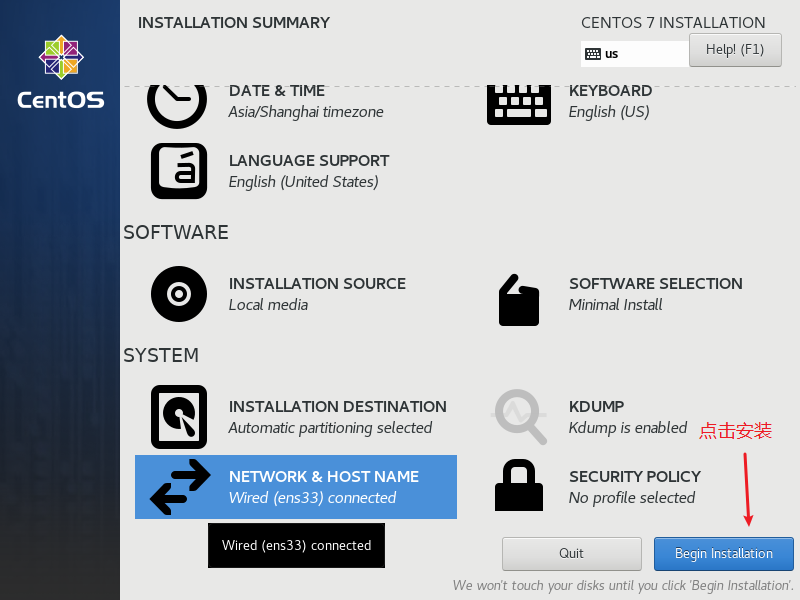
安装 centos
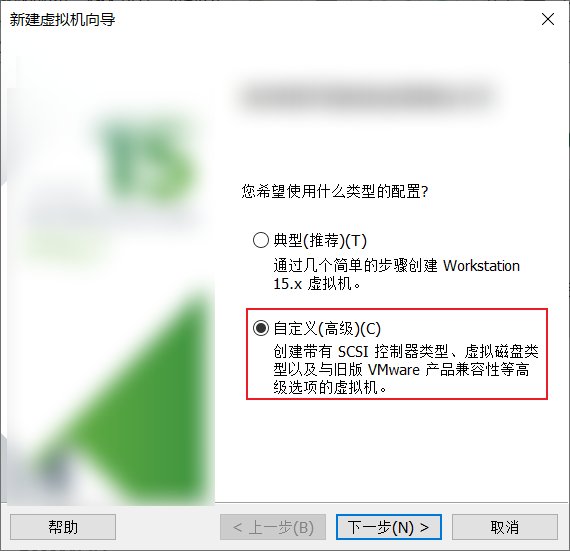
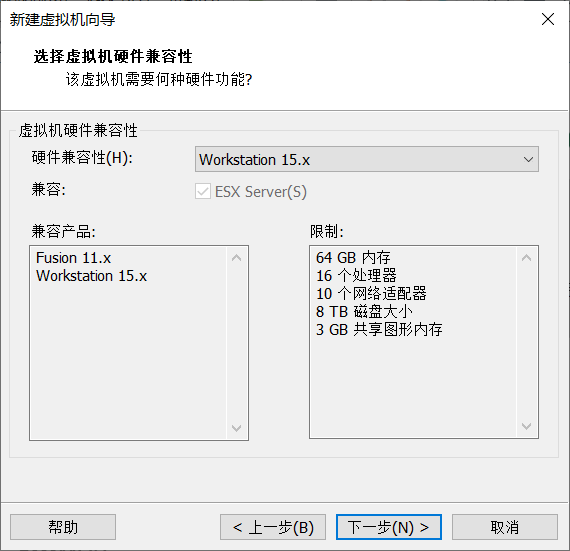
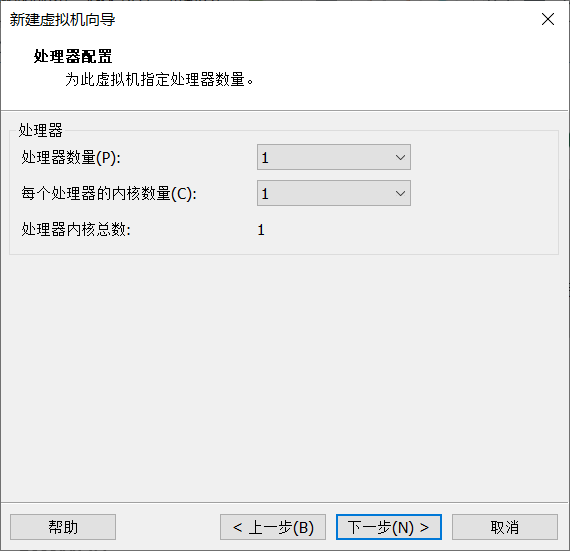
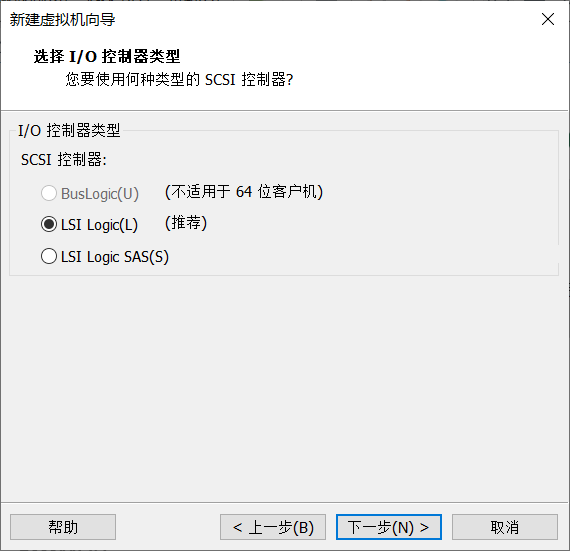
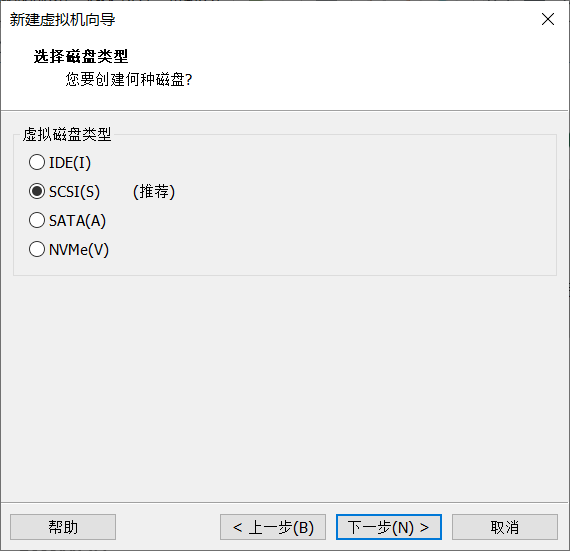
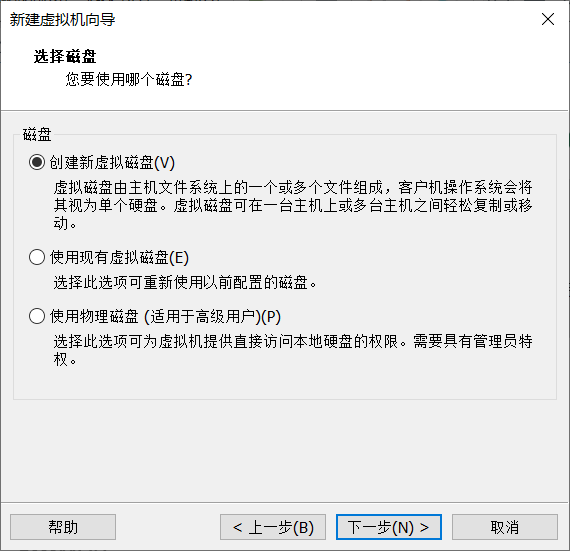
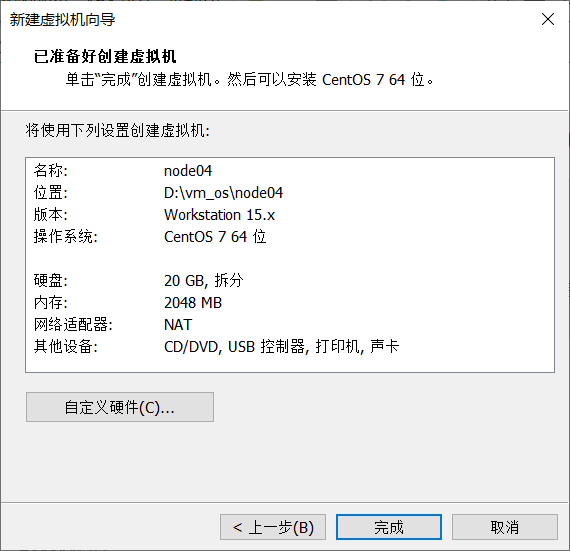
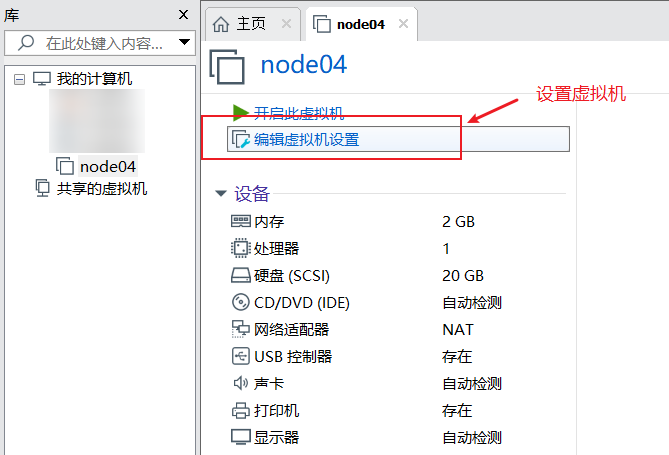
虚拟机配置

设置centos网络
设置阿里云镜像
阿里云镜像地址:https://developer.aliyun.com/mirror/centos
最小安装版的 centos 系统没有任何常用工具,如 ifconfig、wget 等。
使用 yum 安装:
1 | yum install -y net-tools |
步骤1:备份
1 | mv /etc/yum.repos.d/CentOS-Base.repo /etc/yum.repos.d/CentOS-Base.repo.backup |
步骤2:替换镜像配置
1 | wget -O /etc/yum.repos.d/CentOS-Base.repo https://mirrors.aliyun.com/repo/Centos-7.repo |
步骤3:生成缓存
1 | yum makecache |
步骤4:其他
非阿里云ECS用户会出现 Couldn’t resolve host ‘mirrors.cloud.aliyuncs.com’ 信息,不影响使用。用户也可自行修改相关配置:
1 | sed -i -e '/mirrors.cloud.aliyuncs.com/d' -e '/mirrors.aliyuncs.com/d' /etc/yum.repos.d/CentOS-Base.repo |